
How to Do Push Ups: Step-by-Step Guide for All Levels
Done correctly, the push-up builds chest, shoulder, tricep, and core strength at once with no equipment — done incorrectly, it strains the wrists and neck. See every variation with precise form cues.
Key Takeaways
- Functionally equivalent to a bench press at bodyweight, using the identical pressing pattern.
- The top plank position alone activates the transverse abdominis, obliques, and erector spinae.
- Hands should sit directly below the shoulder joint, not extended too far forward.
- A realistic beginner goal is 10 consecutive perfect reps within 4 weeks of daily practice.
- Five technically perfect push-ups build more strength than twenty performed with sloppy form.
- Warming wrists with 10 gentle circles beforehand is a specific preparation step often skipped.
The push-up is the most versatile bodyweight exercise in existence. Done correctly, it builds chest, shoulder, tricep, and core strength simultaneously — no equipment required. Done incorrectly, it strains the wrists, compresses the neck, and produces minimal muscle development. This guide covers every variation — from how to do push ups for beginners to diamond push ups and wall push ups — with precise form cues for each.
Benefits of Push Ups
- Builds Upper Body Pushing Strength — The push-up primarily targets the pectoralis major (chest), anterior deltoid (front shoulder), and triceps. It is functionally equivalent to a bench press at bodyweight — developing the same push pattern used in everyday activities like pushing open doors or getting up from the floor.
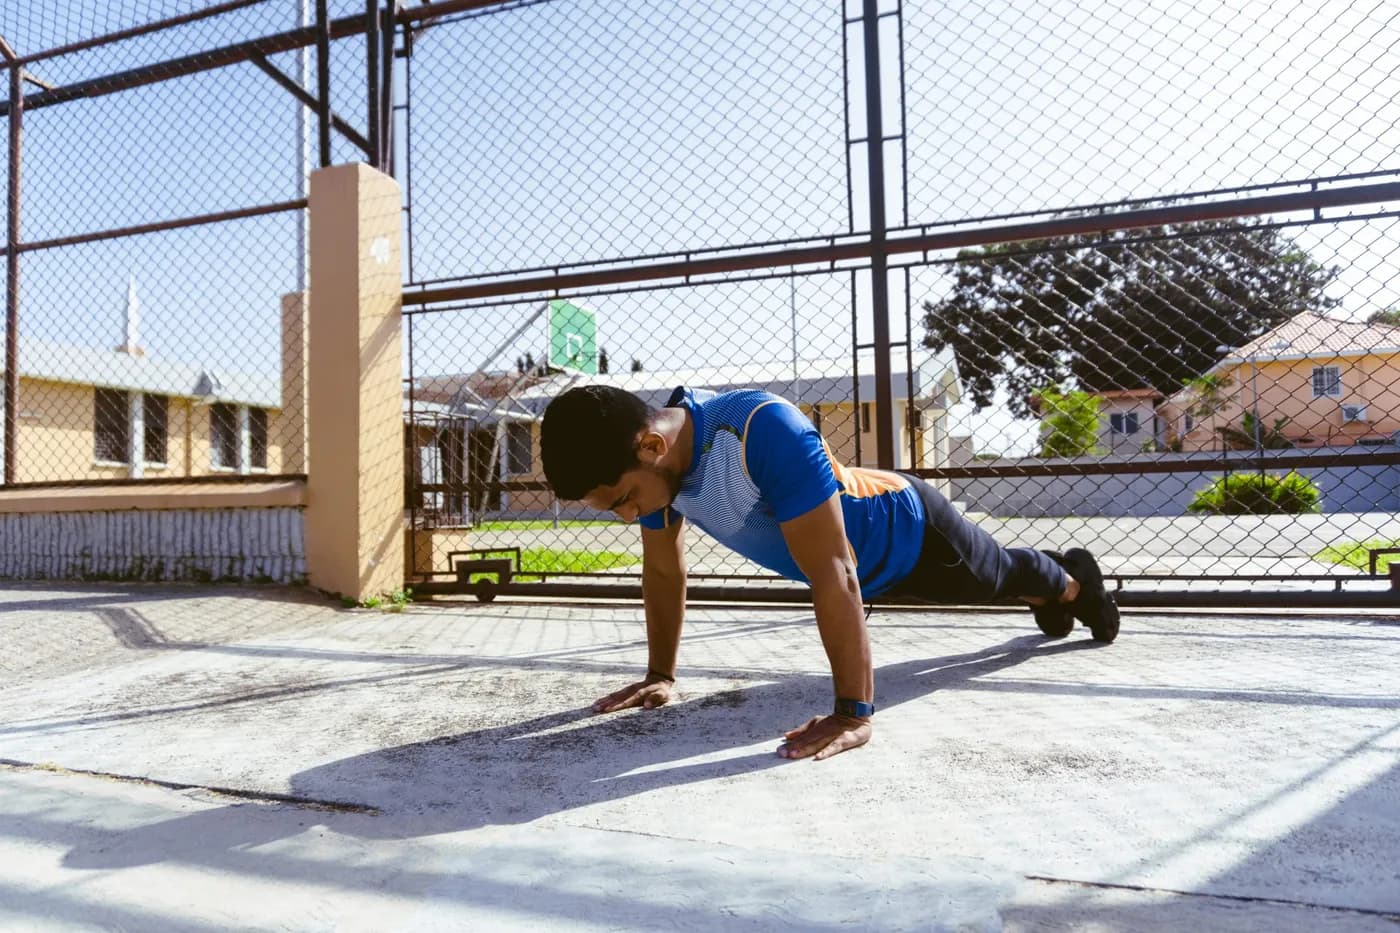
- Strengthens Core and Spinal Stability — A push-up held in the top position is a full plank — activating the transverse abdominis, obliques, and erector spinae throughout every repetition. This makes push-ups simultaneously an upper body and core exercise, providing exceptional value per minute of practice.
- Requires Zero Equipment and Zero Space — A 2-metre-square flat surface is all you need. Push-ups are the most accessible upper body strength exercise available — performed in hotel rooms, on balconies, in offices, or as a morning warm-up without any preparation.
- Scalable from Complete Beginner to Advanced Athlete — Wall push-ups → knee push-ups → standard push-ups → diamond push-ups → archer push-ups — the progression from zero to elite requires no equipment change, just body position. This makes push-ups the most complete single-exercise progression available.
Research: 40+ push-ups per week is associated with a 96% lower risk of cardiovascular disease events over 10 years compared to those who could not complete 10 — Harvard School of Public Health, 2019.
How to Get Started with Push Ups
What You Need to Begin
A yoga mat or non-slip floor surface. Wrists should be warmed up first with 10 gentle circles. No other preparation required. Test your starting level: if you cannot hold a plank for 10 seconds, start with wall push-ups. If you can plank but not do a full push-up, start with knee push-ups.
Setting Realistic Goals
10 consecutive perfect push-ups in 4 weeks is a realistic beginner goal. 50 consecutive push-ups in 12 weeks is achievable with daily practice. Never sacrifice form for quantity — 5 perfect push-ups produce more development than 20 sloppy ones.
Start with the Basics
Begin with wall push-ups or knee push-ups to build the movement pattern with correct form before adding bodyweight resistance. The movement is identical — only the leverage changes. Master the pattern first.
How to Do Push Ups — Step-by-Step Instructions

Step 1: Set up the Starting Position
Place hands shoulder-width apart (or slightly wider), fingers pointing forward or slightly outward. Hands below the shoulder joint — not too far forward. Arms fully extended. Body in a straight plank line from heels to head. Core and glutes engaged.
Step 2: Lower the Body
Bend the elbows and lower the entire body as one unit toward the floor. Elbows track at a 45-degree angle from the body — not flared out wide (which stresses the shoulder) and not pinned to the ribs (which overloads the triceps). Lower until your chest is 3–5 cm from the floor.
Step 3: Push Back Up
Press through the palms and drive the body back to the starting position in one unit. Exhale on the way up. Full arm extension at the top — but do not lock the elbows. This completes one repetition.
Beginner Modification: Knee Push Ups
Lower the knees to the floor. Maintain a straight line from the knees to the head — do not let the hips sag. All other form cues remain identical. This is a fully legitimate exercise, not a "lesser" version — it builds the same movement pattern with reduced load.
How to Do Wall Push Ups
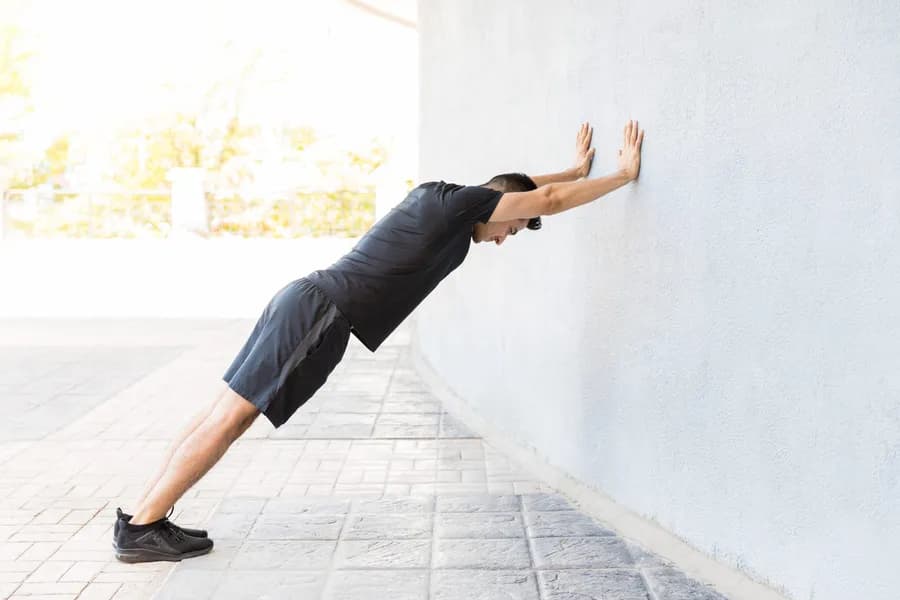
Stand at arm's length from a wall. Place hands flat against the wall at shoulder height and width. Lean toward the wall and press back — same elbow angle (45 degrees), same core engagement. Ideal for complete beginners, rehabilitation, or as a warm-up.
How to Do Diamond Push Ups
Place both hands together directly beneath the chest, thumbs and index fingers forming a diamond shape. Perform the push-up from this position. Dramatically increases tricep activation relative to standard push-ups. Intermediate to advanced variation — requires comfortable standard push-ups first.
Breathing in Push Ups: Inhale as you lower (eccentric), exhale as you push up (concentric). Never hold breath. Rhythm: 2 seconds down, 1 second pause, 1 second up.
Common Mistakes to Avoid in Push Ups
- Flaring Elbows Out to 90 Degrees — Elbows pointed fully sideways shifts stress from the chest and triceps to the shoulder joint in an unstable position — the primary cause of push-up-related shoulder injuries. Fix: 45 degrees from the body — imagine your body as an arrow from above, elbows form the angled barbs, not the crosspiece.
- Sagging Hips — When the core is not engaged, the hips drop toward the floor — creating a banana shape that compresses the lumbar spine and eliminates core activation. Fix: squeeze glutes and pull navel toward spine before every repetition — recheck at rep 5, the hips always sag first when fatiguing.
- Partial Range of Motion — Half-reps — lowering only 30–40% of the way — significantly reduce muscle development and allow practitioners to do far more reps than they've actually earned. Full range of motion is what builds strength. Fix: chest must approach within 3–5 cm of the floor on every repetition — if this isn't possible, drop to knee push-ups until the strength develops.
- Neck Pushed Forward — Looking forward with the chin jutted out creates cervical compression that, over many repetitions, strains the neck. The head should be a neutral extension of the spine. Fix: look at a point on the floor approximately 30 cm ahead of your hands, chin slightly tucked throughout the movement.
Who Should Do Push Ups?
- Beginners — Start with wall push-ups and progress to knee push-ups. The movement pattern is identical — only the load changes. Within 4 weeks of daily practice, most beginners can perform 10 consecutive full push-ups.
- Women — Push-ups build functional upper body strength, improve posture, and tone the arms and chest without any equipment. The knee-to-standard progression is the most effective upper body bodyweight exercise progression available for women.
- Older Adults — Wall and elevated push-ups maintain upper body pressing strength essential for getting up from the floor safely. Medical clearance recommended if wrist or shoulder conditions are present.
- Working Professionals — A set of 10 push-ups takes 30 seconds. Done at a desk break 3 times daily, that's 30 push-ups per day — equivalent to a meaningful upper body strength session distributed through the workday.
The push-up rewards patience — chest, shoulder, tricep and core strength all build together, but only when the exercise gets trained regularly as part of a plan rather than picked up occasionally. A structured programme keeps that progression moving instead of letting it stall out. Habuild's Strong Everyday program folds push-up variations into exactly this kind of guided, progressive training.
Frequently Asked Questions
Related Articles
How to Do Push Ups for Beginners: Step-by-Step from Zero to 20 Reps
The correct progression runs wall push-ups to incline to knee to standard, taking most beginners from zero to 20 consecutive reps in 6-8 weeks. See the step-by-step guide.
How to Do a Plank Properly: Step-by-Step Guide for Beginners
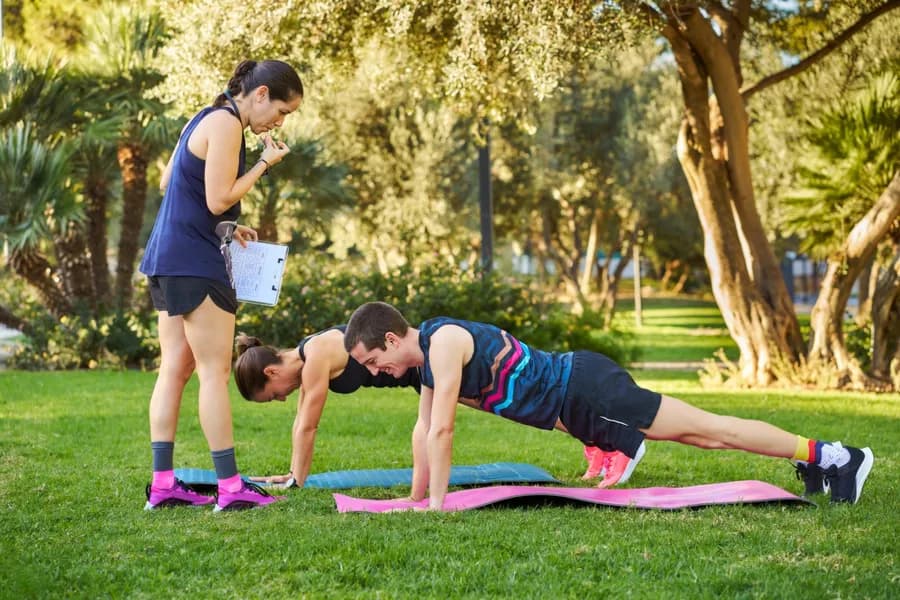
A correctly done plank activates the core, shoulders, glutes, and back muscles at once, but most people make form errors that eliminate the benefit entirely. See the step-by-step guide.

How Many Push-Ups per Day to Build Muscle: the Honest Answer
Push-up volume for real muscle growth depends on training age, current strength, rep range, and whether progressive overload is actually being applied — not a round number. See the evidence-based answer.
How Many Jumping Jacks to Burn 500 Calories: the Honest Calculation
The number depends on body weight, exercise intensity, and metabolic efficiency in ways most online calculators ignore. See the weight-adjusted calculation.
How to Do a Squat: Proper Form, Variations, and a Daily Squat Workout That Works
Done right, the squat builds quad, glute, hamstring, and core strength in one movement — done wrong, it produces knee pain and back pain. See the proper form, variations, and daily workout.