
Trikonasana Benefits: Steps, Procedure & Precautions
Triangle Pose works the body from foot to fingertip in one of the safest standing postures for beginners to learn. See the steps, benefits, and
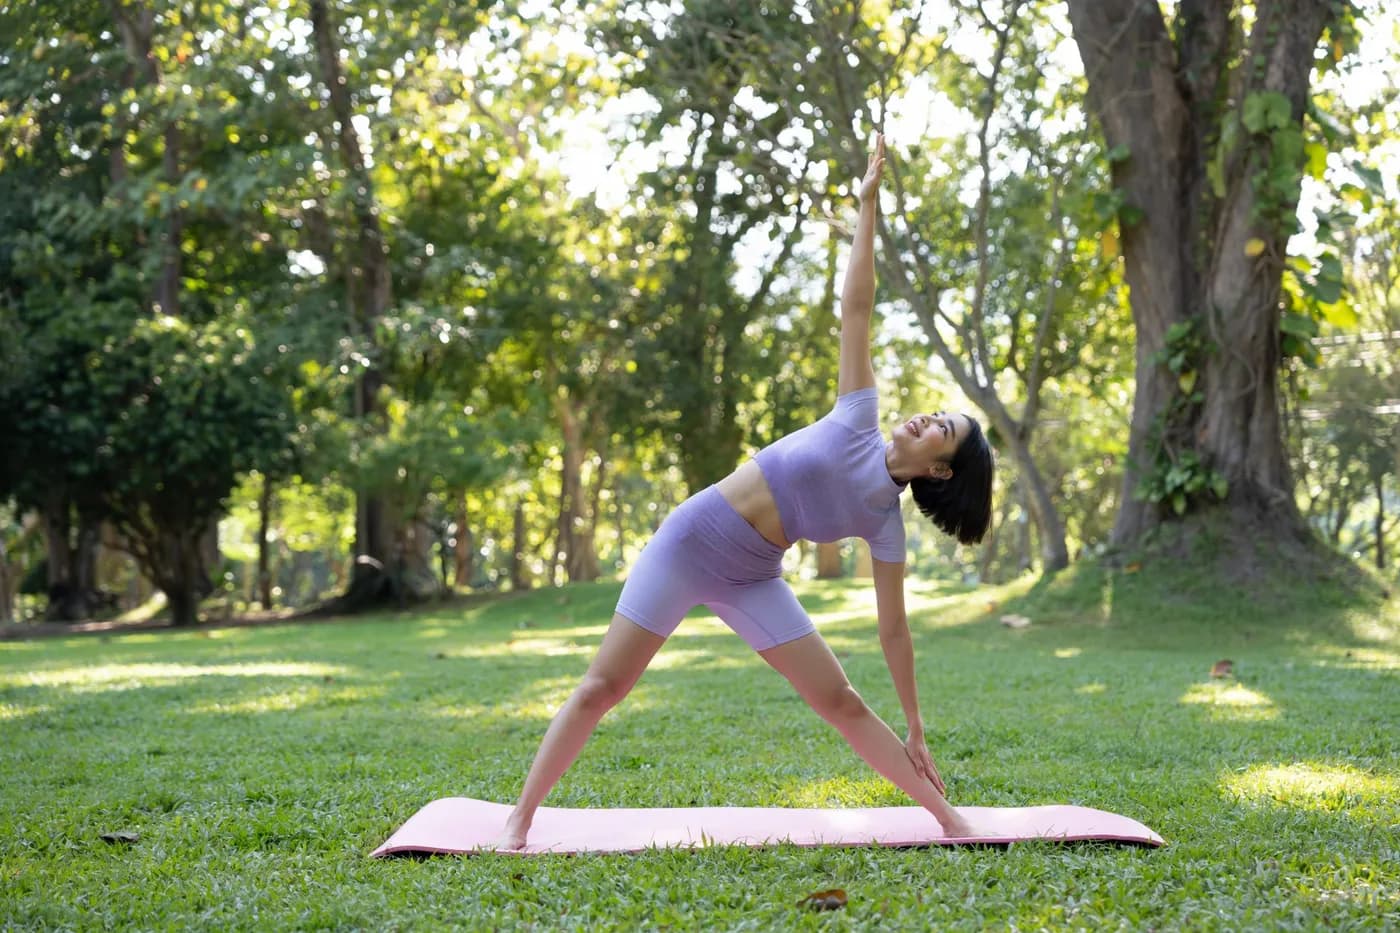
Key Takeaways
- Practised daily for 5-8 breaths on each side as one of the safest standing poses for beginners.
- The triangle symbolises stability in yogic thought – three points that cannot wobble.
- Appears in nearly every major lineage, including Iyengar, Ashtanga, and Sivananda.
- Traditionally practised early in a sequence to warm up the spine before deeper twists.
- The lateral stretch compresses one side of the abdomen while lengthening the other.
- Front quadriceps engage to protect the knee while the back leg presses into the floor.
What is Trikonasana?
The word Trikonasana comes from Sanskrit — tri meaning three, kona meaning angle, and asana meaning pose. In English, it is most often called the Triangle Pose, pronounced “tree-koh-NAH-suh-nuh.” When you hold it correctly, your legs, torso and extended arm form the clear geometry of a triangle against the floor.
The pose belongs to the family of standing asanas in Hatha yoga and appears in nearly every major lineage — Iyengar, Ashtanga and Sivananda included. It is traditionally practised in the early part of a sequence because it warms up the spine, opens the hips, and prepares the body for deeper twists and forward bends. For the full anatomy and history of this pose, see the dedicated Trikonasana guide.
Symbolically, the triangle in yogic thought represents stability — three points that cannot wobble. That is the inner instruction of the pose: a stable base, a steady breath, and a long spine reaching in two directions at once.
Trikonasana Benefits
The full list of trikonasana benefits covers strength, mobility, digestion and emotional steadiness. Here is how to think about them clearly.
Physical Benefits
- Strengthens the Legs, Knees and Ankles Trikonasana keeps both legs active throughout the hold. The front quadriceps engage to protect the knee, while the back leg presses firmly into the floor. Over weeks of consistent practice this builds noticeable lower-body strength without the impact of heavy training.
- Improves Flexibility in the Hips, Hamstrings and Spine Because the torso tilts laterally rather than forward, Trikonasana stretches the side waist, the inner thighs and the hamstrings in one movement. This is the kind of multi-directional opening that desk-bound bodies rarely get.
- Stimulates Digestion and Abdominal Organs The lateral stretch gently compresses one side of the abdomen and lengthens the other. This light squeeze-and-release action supports the digestive organs and can help people who deal with sluggish digestion or mild bloating through consistent daily practice.
- Opens the Chest and Improves Breathing Capacity As the top arm reaches skyward, the chest rolls open and the rib cage expands. Breath becomes fuller and deeper, which is one of the quietly underrated trikonasana procedure benefits and contraindications worth knowing — the breathing gains are real, but only when alignment is correct.
Mental and Emotional Benefits
- Builds Focus and Mental Steadiness Holding a Triangle Pose requires you to balance length, rotation and breath at the same time. That demand pulls scattered attention into one place. Practitioners often describe a settled, alert feeling after holding the pose for five to eight breaths on each side.
- Eases Stress and Mild Anxiety The combination of grounded legs, an open chest and slow breathing gently downshifts the nervous system. Practised regularly, Trikonasana supports your ability to deal with daily stress without becoming a treatment in any medical sense.
How to Do Trikonasana — Step-by-Step Instructions
Key Principles
Before you start, hold three principles in mind: keep both legs straight and active, lengthen the spine before you tilt sideways, and never sacrifice length to reach the floor. Reach down only as far as your spine stays long.
Step 1: Starting Position
Stand tall in Tadasana at the centre of your mat. Feet together, arms by your sides, shoulders rolled back. Take three slow breaths to settle.
Step 2: Step the Feet Wide
Step your feet about three to three-and-a-half feet apart. Turn your right foot out 90 degrees so the toes point to the short edge of the mat. Turn your left toes slightly in, around 15 degrees. Align the right heel with the arch of the left foot.
Step 3: Extend the Arms
Inhale and lift both arms to shoulder height, palms facing the floor. Reach actively through both fingertips so the shoulder blades draw down the back.
Step 4: Reach and Tilt
Exhale. Lengthen your torso to the right, reaching the right hand forward as far as it can go before tilting. Then hinge at the right hip and lower the right hand to the shin, ankle or floor outside the right foot. Use a yoga block if the floor feels far.
Step 5: Final Position and Hold
Extend the left arm straight up so both arms form one long line. Turn your head to look up at the left thumb if the neck allows. Keep both legs straight and both sides of the waist equally long. Hold for 5–8 deep breaths.
Step 6: How to Come Out of Trikonasana
Inhale, press firmly through the back foot and lift the torso upright with the arms still extended. Turn the feet to parallel, step them together and return to Tadasana. Repeat on the left side.
Breathing in Trikonasana
Inhale to lengthen and prepare. Exhale to tilt and deepen. Once you settle into the final position, breathe slowly through the nose for the full hold. Never hold your breath — the breath is the rhythm that keeps the pose alive.
Preparatory Poses Before Trikonasana
- Tadasana (Mountain Pose) — establishes posture and grounding before any standing sequence.
- Vrksasana (Tree Pose) — wakes up the standing leg and improves balance. Learn it through the Tree Pose yoga guide.
- Virabhadrasana II (Warrior II) — opens the hips at the same angle Trikonasana needs.
- Utthita Parsvakonasana (Extended Side Angle) — preps the same lateral line of the body.
Variations of Trikonasana
Variation 1: Baddha Trikonasana (Bound Triangle)
Difficulty: Intermediate. The lower hand reaches behind the back and binds the opposite thigh, while the top hand wraps around the front of the waist to meet it. This deepens the chest opening and shoulder mobility.
Variation 2: Parivrtta Trikonasana (Revolved Triangle)
Difficulty: Intermediate to Advanced. The opposite hand reaches to the outside of the front foot while the torso twists open. It demands more hamstring length and spinal rotation — explore the full breakdown in the Parivrtta Trikonasana guide.
Variation 3: Supported Trikonasana with a Block
Difficulty: Beginner-friendly. A yoga block under the lower hand brings the floor closer, letting beginners hold the pose longer with proper alignment.
Common Mistakes to Avoid in Trikonasana
- Collapsing the Chest Forward Many beginners round the chest toward the floor to reach the lower hand down. Correction: lift the chest up and rotate it toward the ceiling, even if the bottom hand only reaches the shin.
- Bending the Front Knee A soft front knee shifts work away from the leg muscles and stresses the joint. Correction: lift the kneecap by engaging the thigh, but do not lock the joint backward.
- Letting the Back Foot Lift The outer edge of the back foot must stay pressed into the mat. If it lifts, the pose loses its base. Correction: spread the back toes and root the heel down.
- Forcing the Hand to the Floor Reaching the floor at the cost of a rounded spine is the most common mistake. Correction: keep the spine long and use a block. Length always wins over depth.
- Tensing the Neck Cranking the head up to stare at the top hand strains the neck. Correction: if the neck complains, look straight ahead or down at the front foot instead.
Who Should Practise Trikonasana?
- Those Dealing With Lower Back Tightness The lateral stretch and active leg engagement create space along the spine. People who sit for long hours often feel an immediate release after a few rounds. For a complementary practice, explore yoga for lower back pain.
- Working Professionals With Tight Hips Hours at a desk shorten the hip flexors and inner thighs. Trikonasana addresses both in one shape, which is why it earns its place in nearly every morning sequence.
- Is Trikonasana Good for Beginners? Yes. With a block and clear cues, beginners can practise Trikonasana from week one. It is one of the safest standing postures to learn because the feet stay grounded, the spine stays long, and the depth is easy to adjust.
Make Trikonasana a Part of Your Life
In short: Trikonasana is a foundational standing pose that strengthens your legs, opens your hips and side body, supports digestion, and steadies the mind. It works for absolute beginners and for experienced practitioners refining alignment, which is exactly why it appears in almost every classical sequence.
If you are nervous about getting the form right, that is the most normal feeling in the world. Most members at Habuild started with a block, a wobble and a question mark over whether they were doing it correctly. With a teacher watching over video and modifications offered for every body, the pose becomes accessible within a week or two.
Related articles on Trikonasana and standing yoga:
- Parivrtta Trikonasana — the revolved variation explained
- Trikonasana — full pose guide
- Yoga Asanas — complete library of poses
- Yoga poses for beginners — start here
Frequently Asked Questions
Related Articles
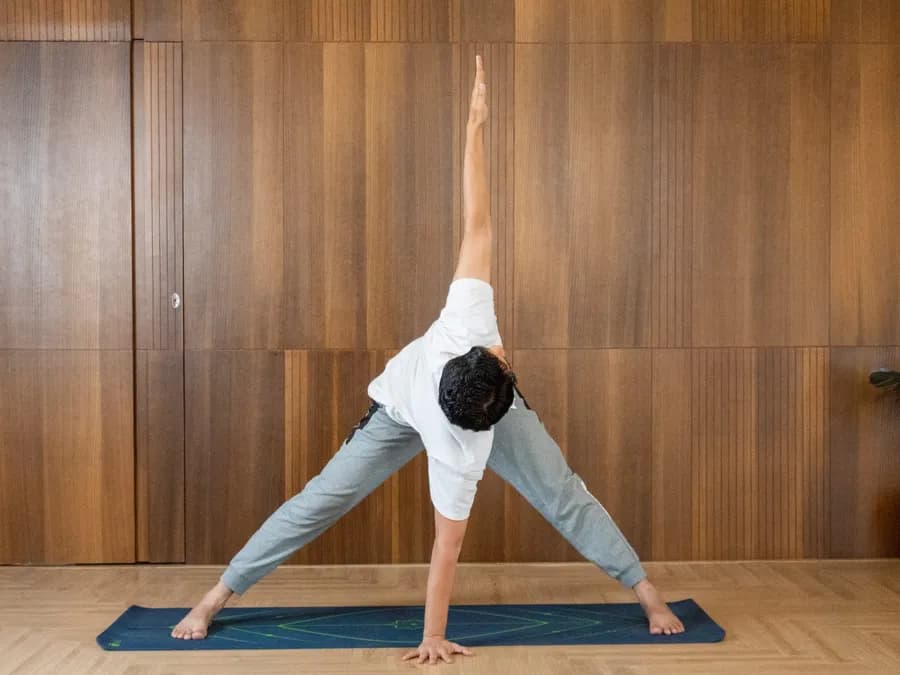
Parivrtta Trikonasana (Revolved Triangle): Steps and Key Benefits
Practice Parivrtta Trikonasana with Habuild. Follow the revolved triangle steps to improve digestion, boost flexibility, and build core strength. Start today!
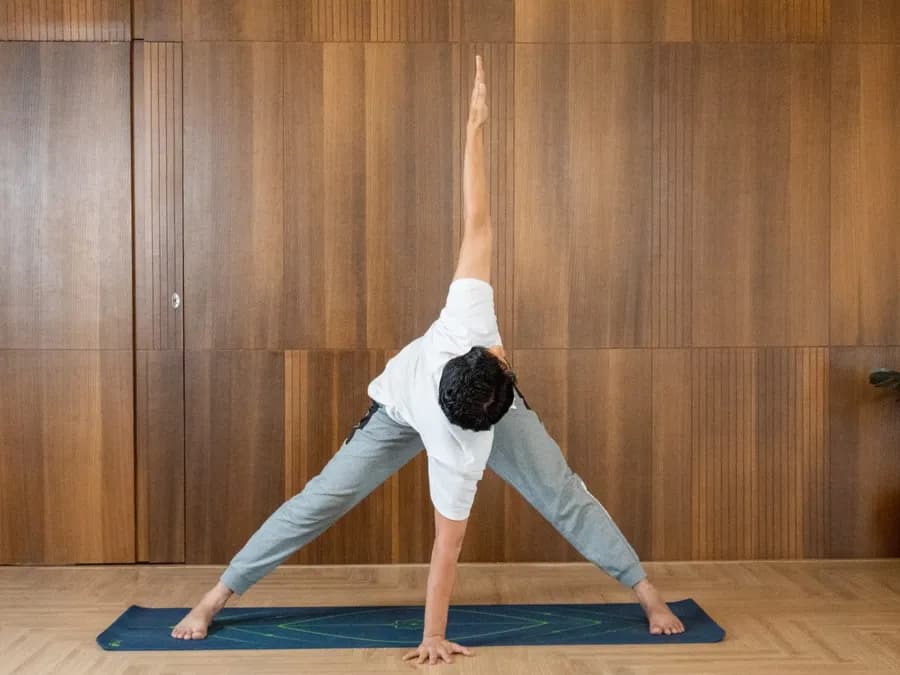
Trikonasana: Triangle Yoga Pose, Steps & Benefits
Trikonasana, the Triangle Pose, opens the hips, lengthens the lateral body, strengthens the legs and core, and improves spinal alignment in one complete standing pose.

Forward Bend Yoga Poses: Complete Guide from Beginner to Advanced
Flexing the spine forward and bringing the torso toward the legs stretches the posterior chain, stimulates digestion, and calms the nervous system through