
Baddha Parsvakonasana (Bound Side Angle Pose): Steps, Benefits & Precautions
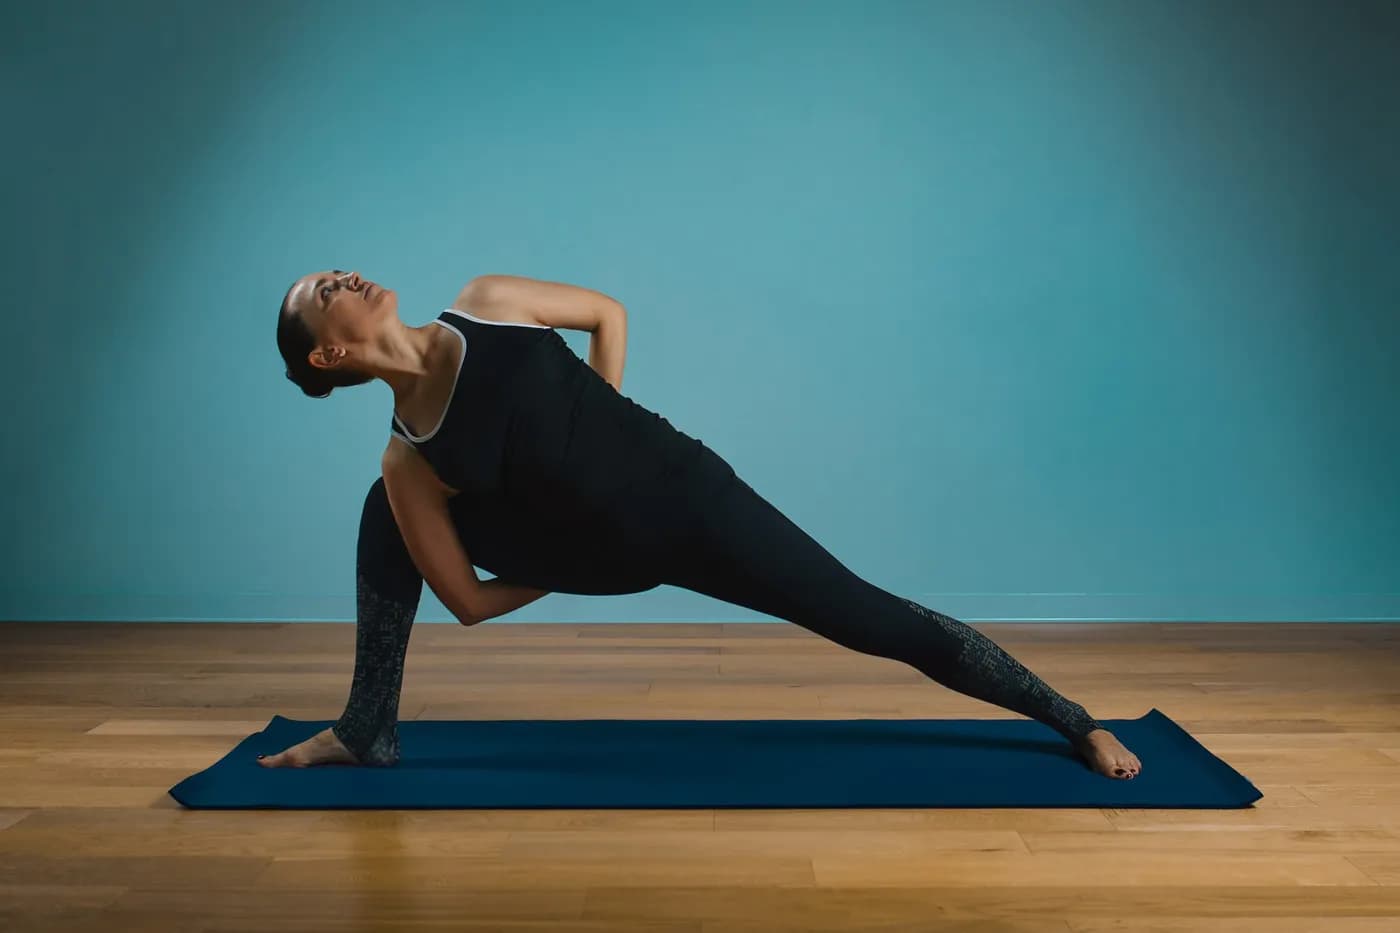
From Extended Side Angle Pose, the arms bind by threading the bottom arm under the front thigh and reaching the top arm behind the back. See the steps,
Key Takeaways
- The bound variation emerged primarily through 20th-century Iyengar and Ashtanga lineages.
- Appears in B.K.S. Iyengar’s Light on Yoga as a sequenced progression from standard Side Angle.
- The bind – one arm under the thigh, the other behind the back – prevents forward collapse.
- Reserved for practitioners who can already hold standard Parsvakonasana with a floor-touching hand.
- Combines leg strength, hip opening, and shoulder mobility simultaneously in one peak pose.
- Produces some of the deepest shoulder rotation and chest opening in classical yoga.
What is Baddha Parsvakonasana?
Baddha Parsvakonasana derives from four Sanskrit words: ‘baddha’ meaning bound, ‘parsva’ meaning side, ‘kona’ meaning angle, and ‘asana’ meaning pose — together translating to “the bound side angle pose.” Pronounced BUDD-ah parsh-vah-koh-NAH-suh-nuh, the pose is also known in English as Bound Side Angle Pose. Visually, the practitioner establishes Extended Side Angle Pose (Utthita Parsvakonasana) — front leg bent at 90 degrees, back leg straight — and then “binds” the arms by threading the bottom arm under the front thigh and reaching the top arm behind the back to clasp hands together. The bind transforms the standard side angle into a deep shoulder-and-hip opening pose.
The pose is named for the bind — a recurring motif in advanced yoga where the arms wrap, thread, or clasp in a way that demands shoulder mobility, hip opening, and core engagement simultaneously. While Parsvakonasana itself is documented in classical Hatha yoga texts, the bound variation emerged primarily through the modernised Iyengar and Ashtanga lineages of the 20th century — appearing in B.K.S. Iyengar’s Light on Yoga as a sequenced progression from the standard Side Angle Pose. The traditional symbolism connects to the integration of strength (the warrior leg foundation) with surrender (the deep bound opening).
In the broader yoga system, Baddha Parsvakonasana belongs to the family of advanced standing poses with binds — a category that includes Marichyasana variations, Bound Half Lord of the Fishes Pose, and other classical binds. It is most commonly practised in intermediate-to-advanced yoga sequences as a peak pose that integrates leg strength, hip opening, shoulder mobility, and chest opening. Most teachers reserve the full bind for practitioners who can comfortably hold standard Parsvakonasana with the bottom hand on the floor.
Baddha Parsvakonasana Benefits
Physical Benefits
Benefit 1: Deep Hip Opening and Stretching of the Inner Thighs
The wide-stance lunge of Baddha Parsvakonasana — held with bound arms — produces deep opening of the hip rotators, inner thighs, and adductors. The bind prevents the upper body from collapsing forward, intensifying the hip stretch significantly. Members focused on broader hip mobility often pair Baddha Parsvakonasana with ourhip opening yoga poses programme to develop the comprehensive hip flexibility that bound poses require.
Benefit 2: Improves Shoulder Mobility and Chest Opening
The bind itself — wrapping one arm under the front thigh and reaching the other behind the back to clasp hands — produces some of the deepest shoulder rotation and chest opening available in classical yoga. The pose addresses shoulder restriction directly, building the mobility that overhead movements and binding poses require.
Benefit 3: Strengthens the Legs and Core
The deep lunge held with bound arms requires significant isometric strength from the front quadriceps, glutes, and inner thighs of the back leg. The core must engage to maintain stability while the upper body twists into the bind. Combined, these demands produce substantial lower-body and core strength.
Mental and Emotional Benefits
Benefit 4: Builds Concentration through Complex Coordination
The pose requires simultaneous attention to leg position, hip rotation, spinal extension, shoulder movement, and breath integration — building the focused attention that complex yoga poses cultivate. The complexity is the practice; it forces present-moment awareness.
Benefit 5: Cultivates Patience through Long-Term Progression
Few practitioners can achieve the full bind on the first attempt — the pose typically requires months of consistent practice to develop the prerequisite hip and shoulder mobility. This long progression cultivates the patience, persistence, and process-orientation that yoga emphasises. Members focused on broader flexibility often pair their work with ouryoga for flexibility programme.
Benefit 6: Releases Stored Tension in the Hips and Shoulders
The hips and shoulders are documented in both yogic tradition and modern somatic therapy as regions where emotional tension stores chronically. The deep simultaneous opening of both regions in Baddha Parsvakonasana supports the release of stored tension over weeks of consistent practice.
How to Do Baddha Parsvakonasana — Step-by-Step Instructions
Key Principles
Three foundational principles must be in place: established Parsvakonasana with bottom hand on the floor, comfortable shoulder mobility (ability to clasp hands behind the back), and gradual progression toward the full bind. Use a strap between the hands as an intermediate step if direct hand clasp is not yet possible.
Step 1: Starting Position (Tadasana)
Begin in Tadasana (Mountain Pose) at the front of the mat. Establish foundational alignment with feet hip-width apart and spine tall. Take three steady breaths.
Step 2: Step Wide and Establish Warrior II
Step the feet wide apart (3–4 feet), turn the right foot out 90 degrees and the left foot in slightly. Bend the right knee to 90 degrees over the right ankle, keeping the back leg straight and strong. Extend the arms to the sides at shoulder height in Warrior II position.
Step 3: Lower into Parsvakonasana (Side Angle)
Bring the right elbow to rest on the right thigh (or place the right hand on the floor outside the right foot for a deeper version). Extend the left arm overhead with the bicep close to the ear — creating a long line from the back foot to the fingertips of the left hand.
Step 4: Begin the Bind — Right Arm Under the Right Thigh
Slide the right arm beneath the right thigh, reaching the right hand behind the back with the palm facing outward. The arm threads through the space created by the bent front leg.
Step 5: Final Position — Clasp the Hands Behind the Back
Bring the left arm down behind the back to meet the right hand, clasping the hands together (or holding a strap between them if hands cannot meet). Once bound, lengthen the spine, open the chest toward the ceiling, and breathe steadily. Hold for 30–60 seconds, then release and switch sides.
Step 6: How to Come Out of Baddha Parsvakonasana
Inhale and slowly release the hand clasp. Bring the right arm back to the floor outside the right foot or the right elbow back to the right thigh. Press through the front foot to come back up to Warrior II, then straighten the front leg to return to a wide stance. Exit with control — never rush.
Breathing in Baddha Parsvakonasana
The breath in Baddha Parsvakonasana follows a specific pattern: inhale to lengthen and prepare; exhale to deepen into the bind; continue with steady, smooth breathing throughout the hold; inhale to release. The bind compresses the chest cavity slightly — making smooth breathing more challenging. If the breath becomes ragged, ease the bind (use a strap) or shorten the hold.
Preparatory Poses Before Baddha Parsvakonasana
Preparation is essential — without prerequisite hip opening and shoulder mobility, the bind is inaccessible or risks injury.
Utthita Parsvakonasana (Extended Side Angle Pose)
The direct foundation pose — must be held comfortably with bottom hand on the floor before the bind is attempted.
Gomukhasana Arms (Cow Face Arm Position)
Builds the shoulder mobility that the bind requires — practising the cow-face arm clasp itself prepares for the behind-the-back hand clasp.
Baddha Konasana (Butterfly Pose)
Opens the inner thighs and hip rotators that the bound side angle requires.
Garudasana Arms (Eagle Arm Position)
Builds the shoulder rotation that the bind position demands.
Variations of Baddha Parsvakonasana
Variation 1: Baddha Parsvakonasana with Strap
Difficulty: Beginner-Intermediate Performed with a yoga strap between the hands when they cannot directly meet behind the back. The strap maintains the bind shape while building shoulder mobility over time. The destination intermediate variation for those building toward full hand clasp.
Variation 2: Baddha Utthita Parsvakonasana (Bound Extended Side Angle)
Difficulty: Intermediate-Advanced The standard bound side angle described in this guide — full hand clasp behind the back from Extended Side Angle foundation. The progression destination once shoulder mobility allows direct hand contact.
Variation 3: Baddha Parivrtta Parsvakonasana (Bound Revolved Side Angle)
Difficulty: Advanced Adds a deep spinal twist to the bound side angle — the bottom arm wraps under the opposite (rear) thigh while the top arm reaches behind the back. Combines bind, twist, and lunge in one of the most demanding standing poses in classical yoga.
Variation 4: Wall-Supported Baddha Parsvakonasana
Difficulty: All Levels with Props Performed with the back foot pressing into a wall — the wall provides stability for the rear leg and helps maintain the foundation while the upper body works on the bind. Members focused on stretching and mobility often pair their work with ourstretching yoga poses programme.
Common Mistakes to Avoid in Baddha Parsvakonasana
- Mistake 1: Forcing the Hand Clasp Without Sufficient Shoulder Mobility The most damaging mistake. Practitioners who force their hands to meet behind the back without adequate shoulder mobility risk shoulder impingement and rotator cuff strain. Correction: use a strap between the hands until the shoulder mobility allows direct clasp comfortably; never force the clasp.
- Mistake 2: Letting the Front Knee Collapse Inward The deep lunge requires the front knee to track over the front toes — when practitioners reach for the bind, the front knee often collapses inward dangerously. Correction: actively press the front knee outward toward the pinky-toe side throughout the hold; this is more important than achieving the bind itself.
- Mistake 3: Rounding the Spine to Reach the Bind Some practitioners round the spine forward to make the bind possible — eliminating the chest opening that makes the pose valuable. Correction: maintain spinal length first; if the bind requires spinal rounding, the bind is not yet appropriate. Use a strap instead.
- Mistake 4: Holding the Breath During the Bind The compressed chest cavity in the bind makes breathing challenging — many practitioners hold the breath. Correction: prioritise smooth steady breathing; if breathing becomes ragged, the pose has gone beyond safe range and should be eased.
- Mistake 5: Skipping Bilateral Practice Always perform both sides immediately — practising only one side or holding one side longer creates muscular and joint imbalance. Correction: hold both sides for equal duration in every session.
- Mistake 6: Attempting the Pose Without Prerequisite Foundations Skipping straight to the bound version without established Parsvakonasana practice is the most damaging long-term mistake. Correction: master Extended Side Angle Pose with bottom hand on the floor for 4–8 weeks before attempting the bind; the foundation matters more than the destination.
Who Should Practise Baddha Parsvakonasana?
- Intermediate-to-Advanced Practitioners The audience that benefits most. Practitioners with established standing pose practice, comfortable Parsvakonasana hold, and shoulder mobility for binds find Baddha Parsvakonasana a rewarding peak pose. The complexity rewards consistent practice. Members focused on broader hip mobility often pair their work with our hip opening yoga poses programme.
- Is Baddha Parsvakonasana Good for Beginners? No — Baddha Parsvakonasana is not a beginner-appropriate pose. Beginners should focus on Tadasana, Warrior II, and standard Parsvakonasana for the first 8–12 weeks before considering the bound version. Attempting the bind without preparation risks shoulder, knee, and lower back injury.
- Working Professionals and Stressed Adults For experienced practitioners managing chronic shoulder tightness from desk work, the bound version provides therapeutic shoulder opening that few other poses can replicate. The combination of strong leg foundation and deep shoulder release counteracts both the upper-body tension and the lower-body weakness sedentary work produces. Members focused on broader posture work often pair their training with ouryoga for posture programme.
- Practitioners Building Toward Advanced Asana For those building toward advanced asana like Marichyasana variations, Astavakrasana, and other binding poses, Baddha Parsvakonasana provides foundational training in the bind pattern. Daily practice builds the shoulder, hip, and integration capacity that advanced asana requires. Members focused on broader flexibility often pair their work with our yoga for flexibility programme.
The bind in Baddha Parsvakonasana asks the shoulders and hips to open in a way that rarely happens on the first try — it’s a pose that rewards the practitioner who keeps returning to it over weeks rather than forcing the clasp in one session. Practising the pose regularly, and using a strap if the hands don’t meet yet, lets that side-body opening deepen safely. Habuild’s Yoga Everyday program can help you work toward binds like this as part of a consistent daily practice.
Frequently Asked Questions
Related Articles
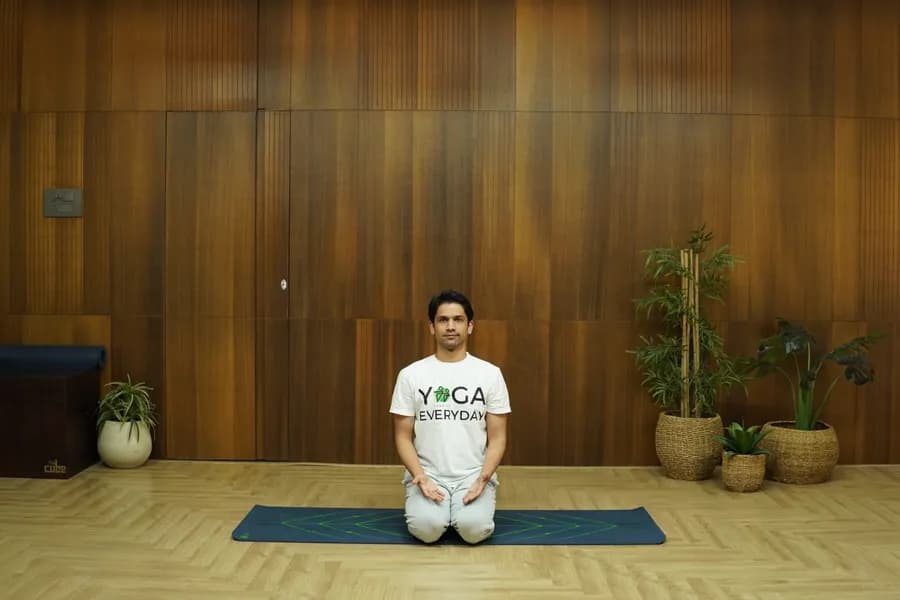
Vajrasana: How to Do It Benefits and Precautions
Practice vajrasana pose with Habuild. Try vajrasana to ease digestion, reduce back pain, and calm your mind. Ideal for all levels. Start your session today!
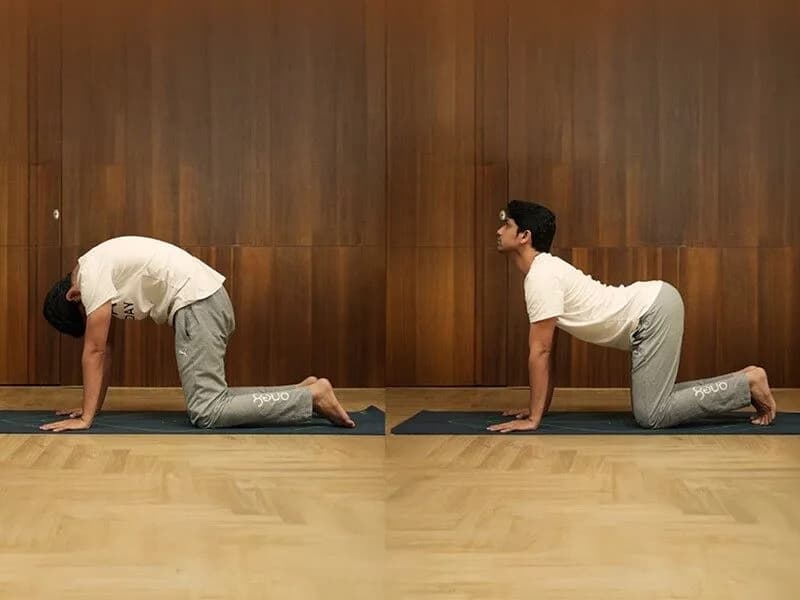
Chakravakasana (Ruddy Goose Pose): Steps, Benefits and Precautions
This four-point kneeling anti-rotation exercise builds lumbar stability and shoulder alignment, named after the ruddy shelduck of Hindu mythology. See the steps, benefits, and precautions.
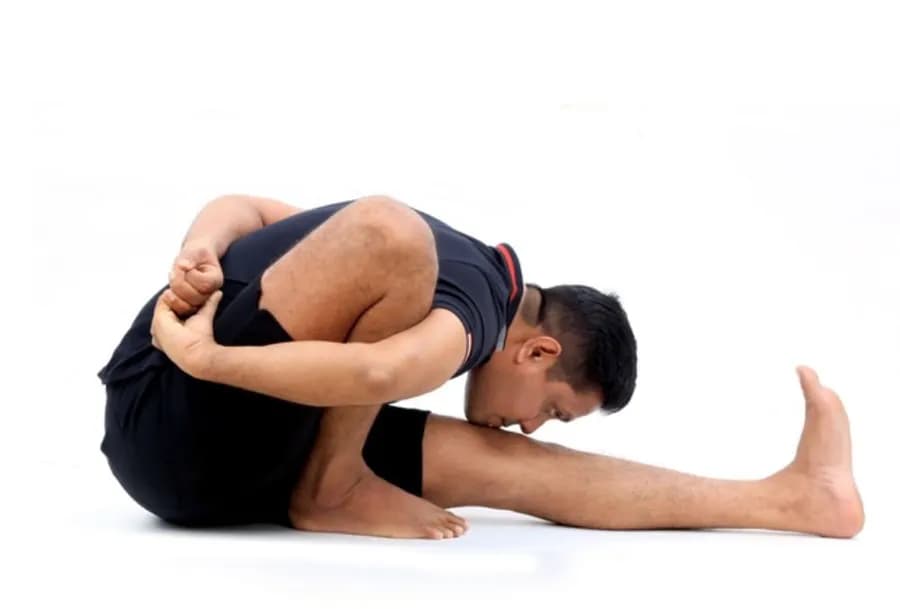
Marichyasana a (Sage Marichi’s Pose a): Steps, Benefits and Precautions
The first of four Marichi poses, this seated forward fold with one knee bent and an arm wrapped behind the back establishes the base that the more complex C and D variations build upon. See the steps, benefits, and precautions.