
Vrksasana (Tree Pose): Steps Balance and Concentration Benefits
Practice Vrksasana yoga with Habuild. Follow the tree pose steps to improve balance, strengthen your legs, and build focus and mental clarity. Start today!
Key Takeaways
- Named the first balance pose introduced to almost every yoga beginner.
- The drishti, gaze point, functions as both the physical balance mechanism and mental focus tool.
- Develops three named foundations of balance – drishti, standing-leg engagement, hip positioning.
- Raised-foot hip external rotation progressively opens the piriformis and inner thigh.
- Builds standing-leg strength through isometric load without the two-footed compensation.
- Is described as the universal starting posture for all single-leg balance development.
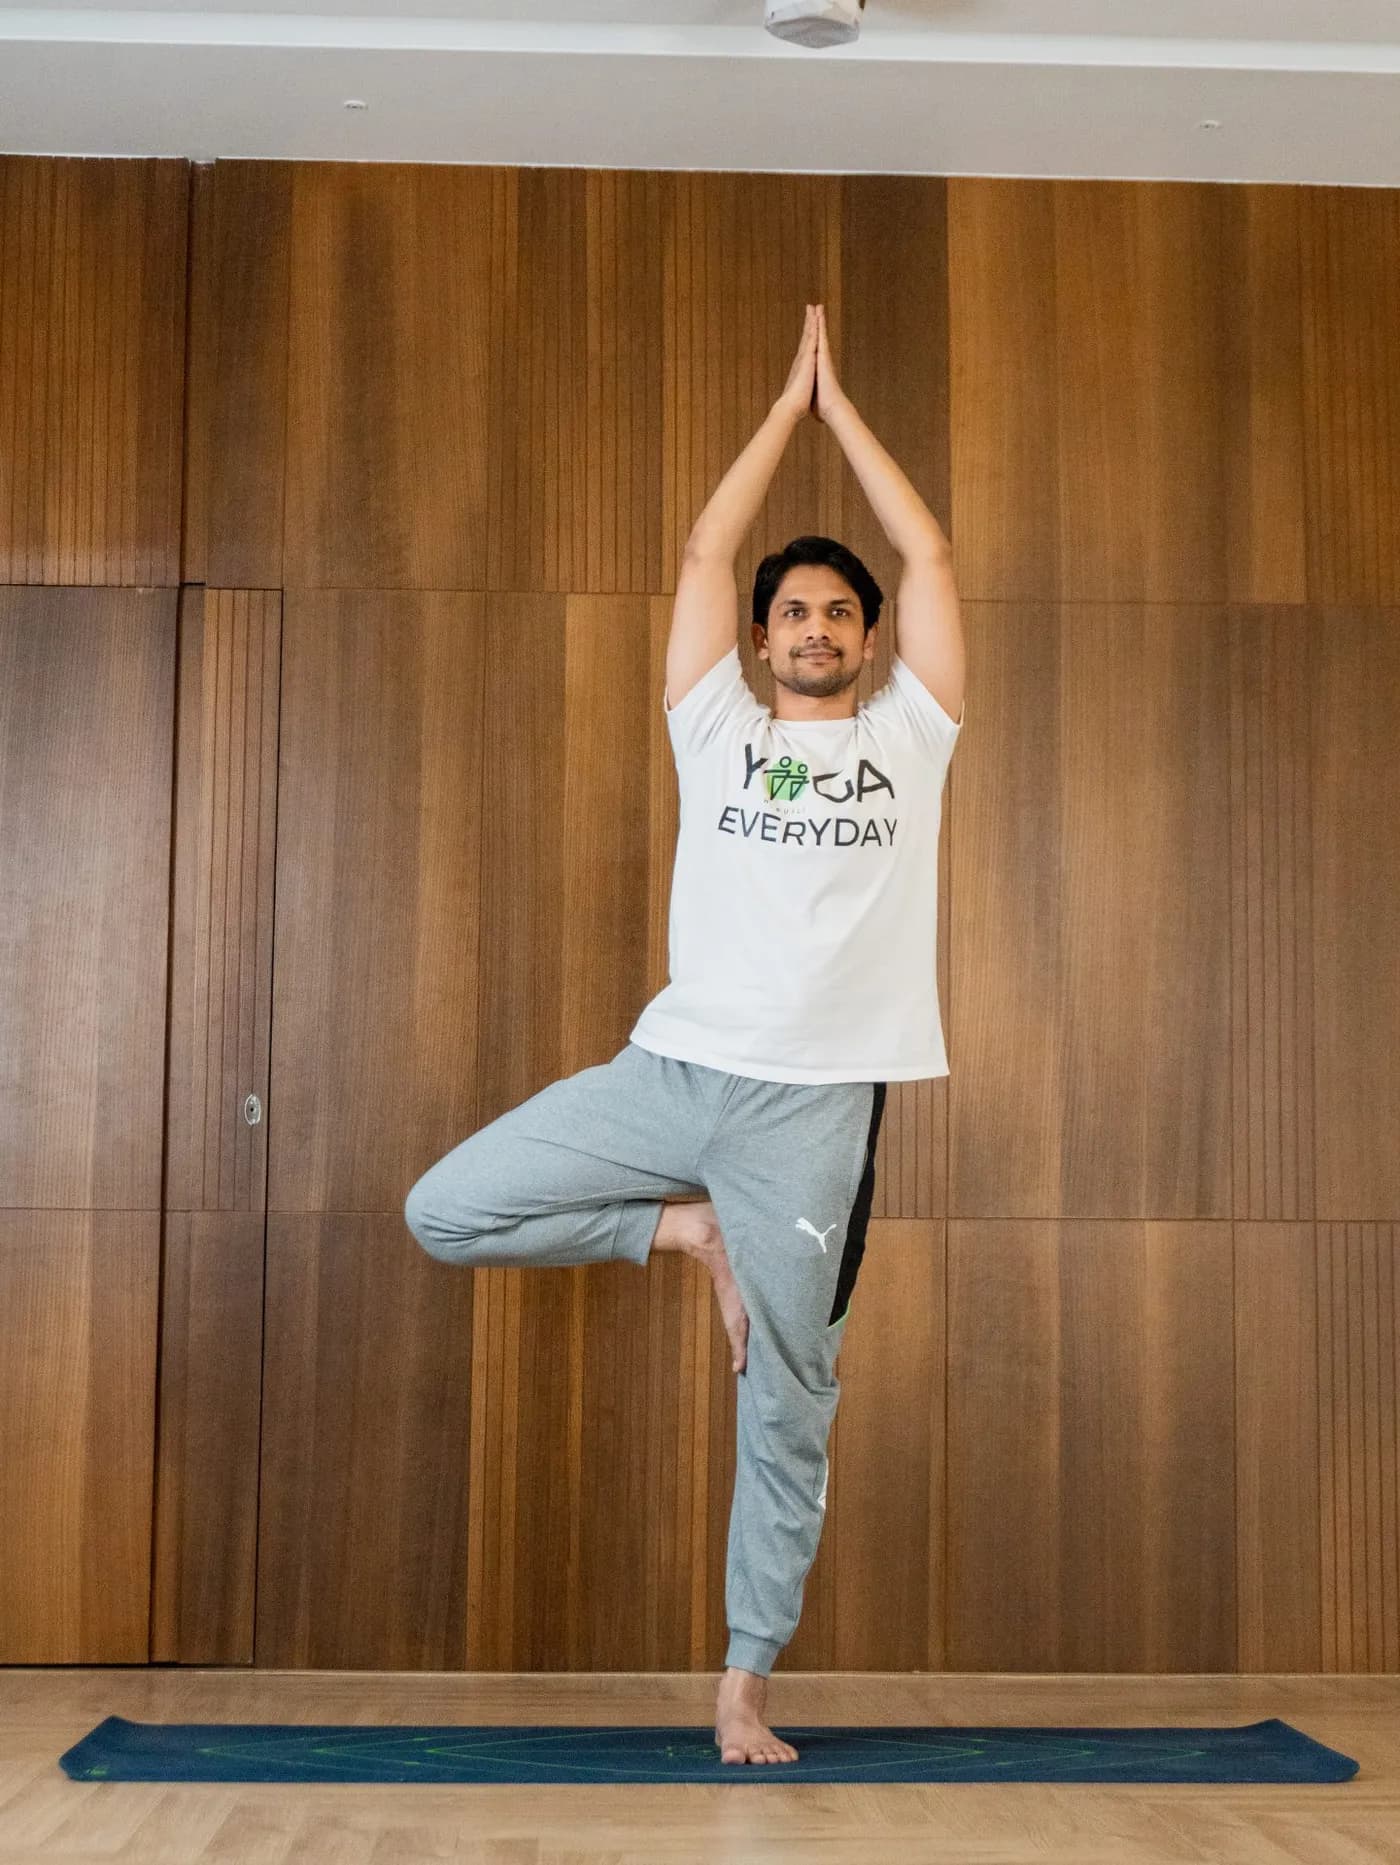
Vrksasana, or Tree Pose, is a single-leg standing balance where one foot rests against the inner calf or thigh of the standing leg and the arms rise overhead. It builds proprioceptive awareness, ankle-to-hip stability, hip external rotation, and one-pointed focus — the universal starting posture for all single-leg balance development in yoga.
What is Vrksasana?
Vrksasana — known in English as Tree Pose — derives from Sanskrit: Vrksa (tree) and Asana (posture). One foot is rooted firmly into the floor, the other rests against the standing leg’s thigh or calf, and the arms branch upward — embodying the tree’s qualities of deep roots, a steady trunk, and freely reaching branches.
Vrksasana is yoga’s most universally taught single-leg balance posture — the first balance pose introduced to almost every beginner. Its consistent practice develops the proprioceptive awareness, ankle stability, hip strength, and one-pointed focus that all subsequent balance postures depend on. The drishti (gaze point) that Vrksasana demands is simultaneously the physical balance mechanism and the mental focus training that makes it a genuine moving meditation.
At Habuild, Vrksasana is taught with deliberate attention to the three foundations of balance — the drishti, the standing leg engagement, and the hip positioning — that determine whether the pose is a genuine balance practice or a posture held by compensatory muscular tension.
Vrksasana Benefits
Physical Benefits
- Develops Single-Leg Balance and Proprioceptive Awareness Vrksasana systematically develops the ankle stabilisers, hip abductors, knee stabilisers, and core that maintain single-leg equilibrium. This proprioceptive development improves balance in all activities, reduces fall risk, and provides the balance foundation that all advanced standing and arm balance postures require.
- Opens the Hip External Rotators The raised foot position against the thigh — with the knee drawing outward — provides a sustained hip external rotation stretch that progressively opens the piriformis and inner thigh. This hip flexibility directly supports seated postures and contributes to the hip opening that advanced yoga practice requires.
- Builds Lower Body Strength Through Sustained Single-Leg Loading The sustained single-leg standing of Vrksasana builds significant standing-leg quadriceps, glute, and calf strength through the isometric load of supporting the full body weight without the bilateral compensation that two-footed standing provides.
- Improves Postural Alignment and Core Stability Maintaining the upright aligned torso in Vrksasana — spine long, hips level, ribcage lifted — develops the postural awareness and core stability that directly improves the quality of everyday standing posture.
Mental and Emotional Benefits
- Develops One-Pointed Focus as Moving Meditation Vrksasana requires fixing the gaze on a single unmoving point — a drishti that is simultaneously the physical balance mechanism and the mental training that makes the posture a moving meditation. Every moment of wandering attention produces an immediate wobble — making the connection between mental focus and physical stability unmistakably direct.
- Cultivates Equanimity and Grounded Calm Maintaining the tree posture through the natural micro-wobbles of balance practice cultivates the psychological quality of equanimity — remaining calm and grounded in the face of instability. This is one of the most practically useful mental qualities that consistent yoga balance practice develops.
How to Do Vrksasana — Step-by-Step Instructions
Key Principles
Key Principles Three principles govern effective Vrksasana: fix the drishti first — the gaze on a single unmoving point at eye level is the foundation of balance and must be established before the foot lifts; root the standing foot — all four corners pressed evenly into the floor, quadriceps engaged; and place the raised foot above or below the knee — never against the knee joint, which creates harmful lateral ligament stress.
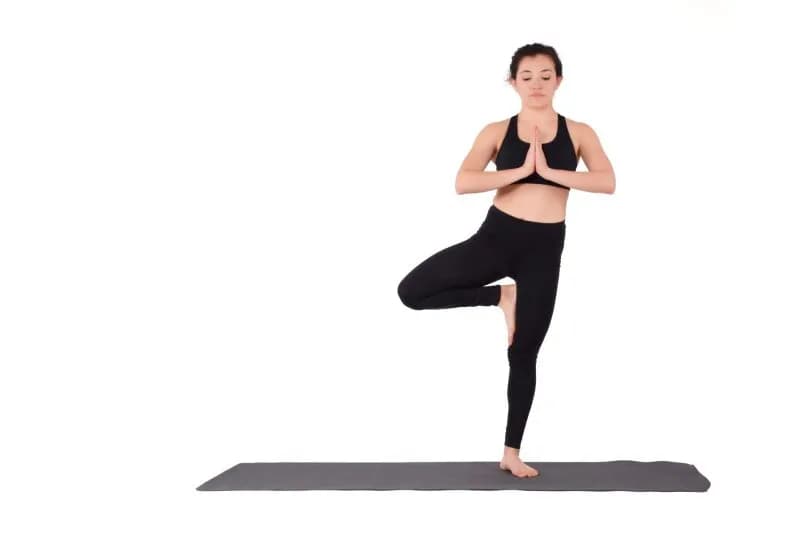
Vrksasana — Step by Step Step 1: Establish the Drishti Before Anything Moves Stand in Tadasana. Fix the gaze on a single unmoving point at eye level — a spot on the wall or floor ahead. This drishti must be established before the foot lifts — it is the primary balance foundation.
Step 2: Root the Standing Foot and Shift the Weight Shift the weight onto the left foot — pressing all four corners (big toe mound, little toe mound, inner heel, outer heel) firmly into the floor. Engage the left quadriceps without locking the knee.
Step 3: Bring the Raised Foot to Calf or Inner Thigh Bend the right knee and bring the sole to rest against the inner left calf (below the knee — beginner form) or the inner left thigh above the knee (standard form). Never against the knee joint itself.
Step 4: Create Mutual Engagement Between Foot and Leg Press the right foot and left leg against each other with equal resistance — the foot pressing in, the leg pressing back. This mutual engagement stabilises both the raised foot and the standing leg simultaneously.
Step 5: Square the Hips and Draw the Knee Open Square the hips forward — both hip bones facing the same direction. The right knee draws naturally outward, opening the hip external rotators. The hips remain level.
Step 6: Raise the Arms and Complete the Tree Bring the hands to heart centre in Anjali Mudra (beginner) or raise both arms overhead (full expression). Hold for five to ten breath cycles. Return the foot to the floor on an exhalation and repeat on the right leg.
Breathing in Vrksasana
Steady, continuous breathing is simultaneously the balance stabiliser and the measure of balance quality. Short or held breaths increase the muscular tension that destabilises balance; slow, full breaths reduce compensatory gripping and allow the balance to settle. Each inhale rises through the crown; each exhale roots more deeply through the standing foot.
Preparatory Poses Before Vrksasana
These poses develop the ankle stability, hip flexibility, and balance awareness that Vrksasana requires.
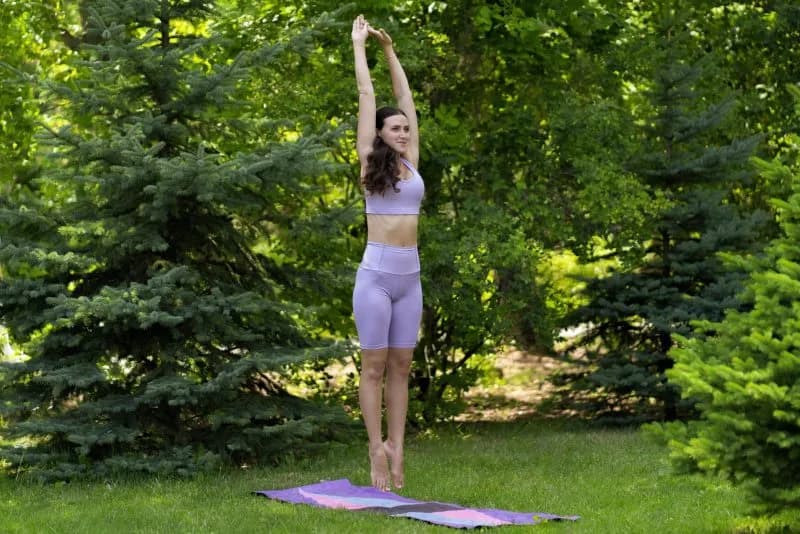
- Tadasana (Mountain Pose, 60 seconds) — Establishes the quality of grounded standing awareness that single-leg balance extends.
- Ankle circles and calf raises — Warms and strengthens the ankle stabilisers before single-leg balance demands.
- Hip external rotation stretch (Baddha Konasana, 60 seconds) — Opens the hip external rotators before the Vrksasana position stretches them.
- Half Tree with toes on floor (30 seconds each side) — Develops the hip rotation position with minimal balance challenge before the full lift.
Variations of Vrksasana
- Variation 1: Foot to Ankle with Toes on Floor — Beginner Raised foot toes resting on the floor beside the standing ankle — most accessible stage. Provides the hip external rotation position and the focus training without the full single-leg balance challenge. Ideal for those new to balance work.
- Variation 2: Foot to Inner Calf — Standard Beginner Raised foot pressing against the inner calf below the knee — full balance challenge with the foot lower on the standing leg. The standard starting form for most beginners once ankle-toes-on-floor is comfortable.
- Variation 3: Foot to Inner Thigh with Arms Overhead — Full Expression Raised foot pressing against the inner thigh above the knee, both arms extended overhead with palms together — the full aesthetic and physical expression of the tree. Requires established ankle stability and hip external rotation flexibility.
Common Mistakes to Avoid in Vrksasana
- Lifting the Foot Before Fixing the Drishti The single most effective technique for immediately improving Vrksasana balance is establishing the drishti before the foot lifts — not after. Most practitioners lift the foot first and then look for a point, losing balance before the practice has begun. Fix the gaze first; everything else follows.
- Placing the Foot Against the Knee Joint The raised foot must never rest against the knee joint — always against the calf (below) or inner thigh (above). Foot-to-knee placement creates sustained lateral ligament stress that accumulates into knee damage with consistent practice.
- Gripping the Floor with the Standing Foot Toes Curling the standing foot toes downward to grip the floor substitutes toe tension for the genuine ankle and hip stability that Vrksasana is designed to develop. Press all four corners of the standing foot evenly and keep the toes relaxed and spread.
Who Should Practise Vrksasana?
- Beginners Developing Their Balance Foundation Vrksasana is the ideal first single-leg balance posture — its progressive foot positions (ankle, calf, thigh) providing a clear development pathway, and its drishti training building the focused attention that all balance postures require.
- Athletes Seeking Unilateral Stability and Fall Prevention Runners, footballers, skiers, and all athletes requiring single-leg dynamic stability benefit from the proprioceptive awareness and ankle-to-hip stability chain that consistent Vrksasana develops. Fall prevention — for older practitioners — is one of its most practically valuable benefits.
- Is Vrksasana Good for Beginners? Yes — the ankle-toes-on-floor and foot-to-calf variations make it accessible from the very first yoga class. The drishti instruction provides an immediate, effective technique for improving balance that beginners notice from their first session.
Make Vrksasana a Part of Your Daily Practice
Vrksasana is yoga’s most universally taught balance posture — its drishti-based one-pointed focus, standing-leg rooting, and progressive foot positions providing the complete proprioceptive and balance development that all subsequent standing postures build upon.
Whether you are finding your first steady balance in the ankle-toes-on-floor variation or deepening the meditative stillness of an established full-expression practice, daily Vrksasana delivers progressive proprioceptive improvement and mental focus training.
The most effective way to learn Vrksasana correctly — with the drishti-first sequence, knee safety instruction, and standing-foot engagement guidance — is under live expert guidance with Habuild.
Start your 14 day free yoga journey with Habuild, today!
Related reads: Natarajasana (Dancer Pose): Steps and Balance Benefits · Benefits of Vrikshasana (Tree Pose): Balance, Strength, and More
Tree Pose is deceptively simple, and the steadiness it builds — in the standing leg, in the mind — comes almost entirely from repetition, since balance is a skill the nervous system only refines through regular practice. A wobbly tree today and a steadier one in a few weeks is normal progress, not failure. Habuild’s Yoga Everyday program includes balance poses like this to sharpen focus as part of a daily routine.
Frequently Asked Questions
Related Articles
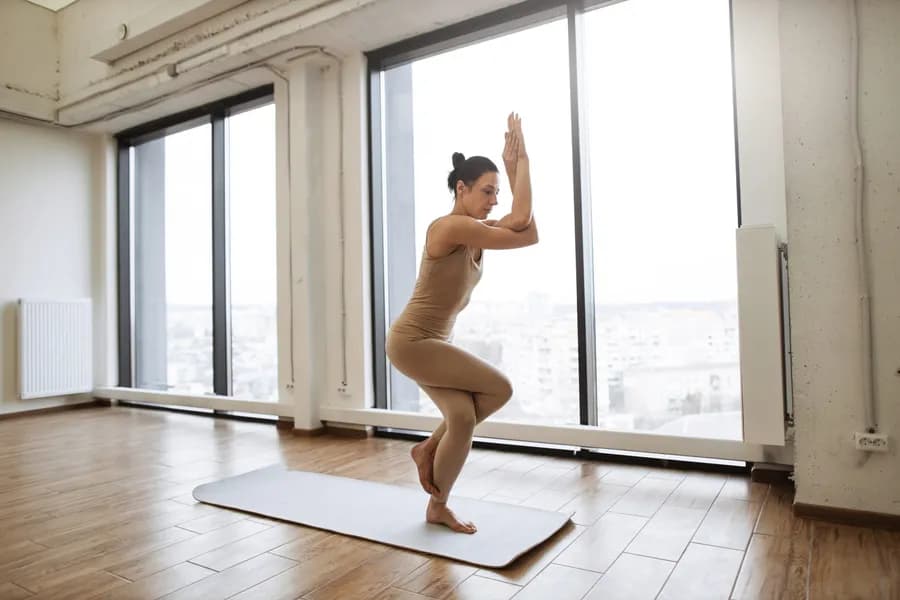
Garudasana (Eagle Pose): Steps Balance Benefits and Beginner Tips
Practice garudasana with Habuild. Try garudasana yoga to improve balance, strengthen your legs, open your shoulders, and develop sharp focus. Start today now!
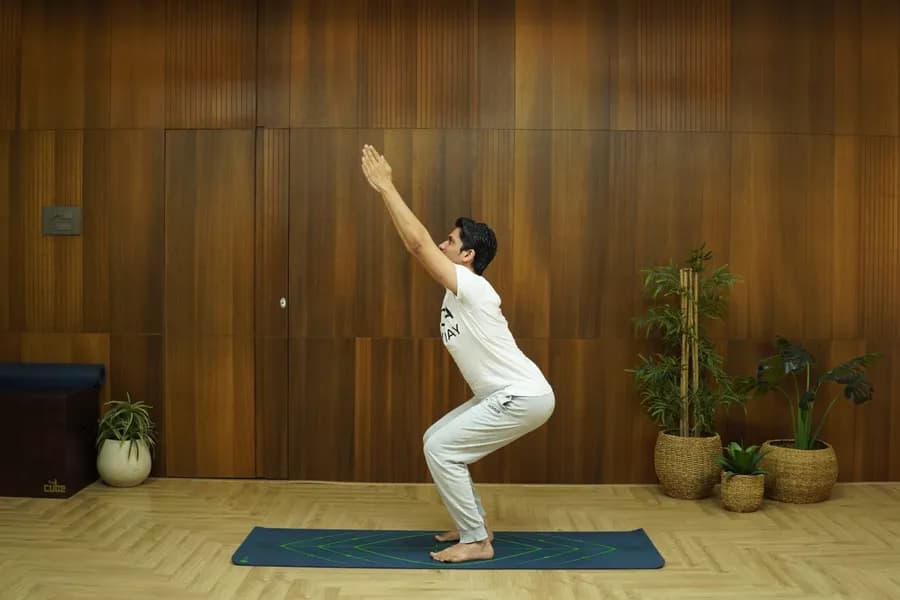
Utkatasana (Chair Pose): Steps Strength and Stamina Benefits
Practice utkatasana with Habuild. Try the utkatasana pose to strengthen your legs, build core power, and boost overall body endurance. Start your yoga session!
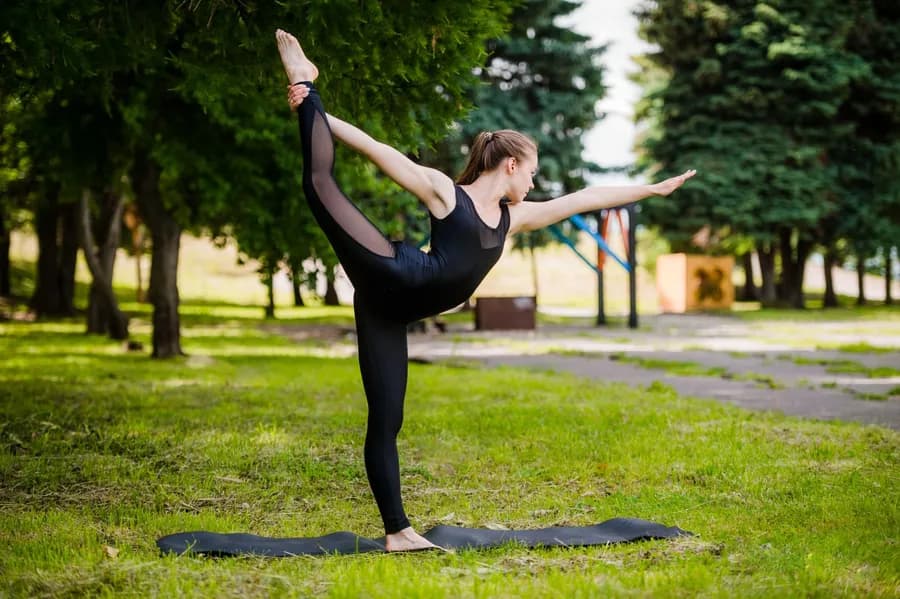
Natarajasana (Dancer Pose): Steps and Balance Benefits
Practice Natraj Asana with Habuild. Follow Lord of the Dance pose steps to improve balance, boost flexibility, and strengthen your spine daily. Start today!

Tadasana — The Mountain Pose
Tadasana, or Mountain Pose, is the quiet foundation every standing yoga pose is built on — simple to look at, precise to get right.