
Baddha Padmasana (Bound Lotus Pose): Steps, Benefits & Precautions
Sitting in full lotus, the arms cross behind the back to clasp the opposite feet’s toes, combining hip opening, shoulder mobility, and meditative stillness. See the steps, benefits, and precautions.
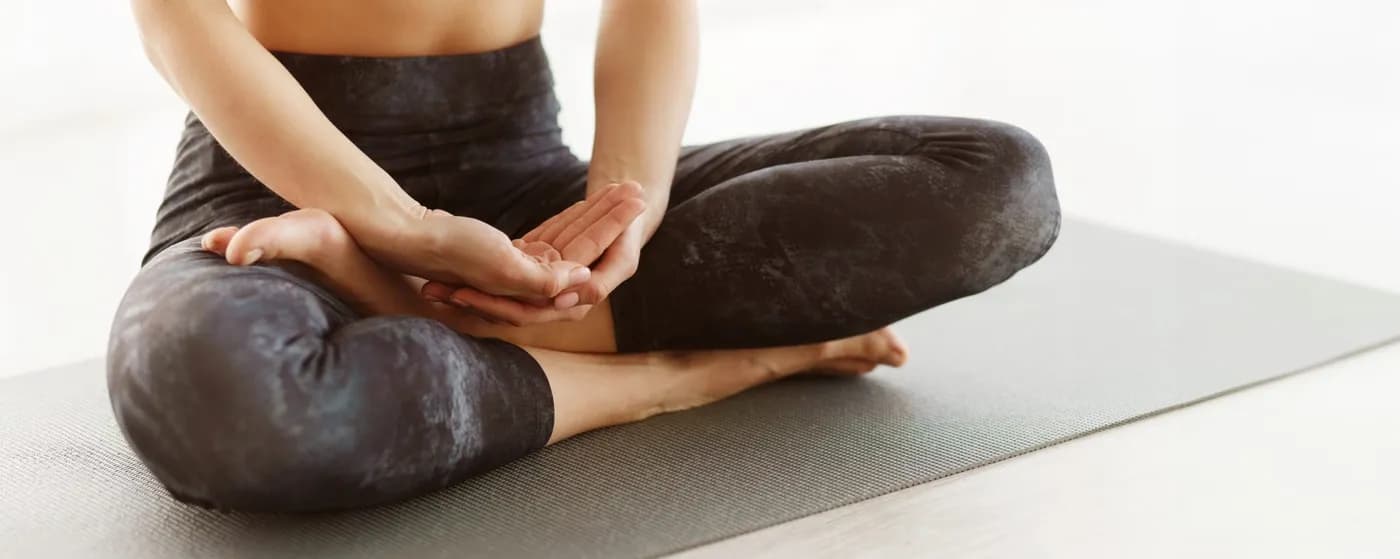
Key Takeaways
- Combines full lotus with arms crossed behind the back to clasp the opposite feet’s toes.
- Documented among the classical seated postures mentioned in the Hatha Yoga Pradipika.
- Most practitioners progress through standard Padmasana and half-bound lotus first.
- Once the bind is set, the spine almost organises itself into a healthy vertical line.
- Requires considerable hip, knee, and shoulder mobility – explicitly not a beginner pose.
- The contained bound shape supports sustained pranayama and meditation once settled.
What is Baddha Padmasana?
Baddha Padmasana, pronounced bah-dha pad-mah-sa-na translates as “Bound Lotus Pose.” “Baddha” means bound, and “padmasana” refers to the lotus seat. The pose involves sitting in full lotus, then crossing the arms behind the back to clasp the toes of the opposite feet an advanced binding shape that combines hip opening, shoulder mobility, and meditative stillness.
Traditionally, baddha padmasana is considered one of the classical seated postures in hatha yoga and is mentioned in texts like the Hatha Yoga Pradipika. The bound lotus pose is associated with deep meditative concentration, energetic balance, and spinal alignment for sustained sitting practice. Modern practitioners value baddha padmasana for the stillness it produces; once settled, the pose creates a stable, contained shape that supports long pranayama or meditation sessions.
This is not a beginner pose. Full baddha padmasana requires considerable hip, knee, and shoulder mobility. Most practitioners progress through padmasana (standard lotus) and half bound lotus pose first.
Baddha Padmasana Benefits
Physical Benefits
- Deeply Opens the Hips and Inner Thighs The lotus position itself requires significant external hip rotation. Baddha padmasana benefits include progressive deepening of hip mobility particularly valuable for those who sit at desks all day.
- Improves Shoulder Mobility and Posture The arm binding behind the back stretches the chest and shoulders into deep external rotation, counteracting the rounded forward posture common in modern life.
- Stimulates the Abdominal Organs The combined seated and bound shape compresses the abdomen gently, supporting digestion and abdominal organ health.
- Improves Spinal Alignment The pose naturally lengthens the spine into a tall seated position once the bind is set, the spine almost organises itself into a healthy vertical line.
- Cultivates Stillness and Meditative Focus Baddha padmasana benefits include the ability to sit in undisturbed meditation. The bind contains the body once you’re in, you’re in.
- Reduces Restlessness and Promotes Calm The deep, contained shape signals the nervous system to settle. Many practitioners describe a profound calm during and after even short holds.
Mental and Emotional Benefits
How to Do Baddha Padmasana Step-by-Step Instructions
Key Principles
This is an advanced pose. Approach it patiently, master padmasana first, and never force the bind. If your knees protest, back off immediately.
Step 1: Starting Position
Sit in Padmasana (full lotus). Both feet rest on the opposite thighs, soles upward. Spine tall, hands resting on the knees.
Step 2: Reach the Right Arm Behind
Inhale. Reach the right arm behind your back, around the right side. The hand moves toward the left foot.
Step 3: Catch the Right Big Toe
Continue reaching until you can grasp the big toe of the right foot (which is resting on the left thigh in lotus). Use the index and middle finger to hook the toe.
Step 4: Reach the Left Arm Behind
Inhale again. Reach the left arm behind your back, around the left side, toward the right foot.
Step 5: Final Position and Hold
Catch the left big toe with the left hand. Both arms now bind across the back. Lengthen the spine, broaden the chest, soften the gaze. Hold for 5–30 breaths depending on level.
Step 6: How to Come Out of Baddha Padmasana
Slowly release the left hand first, then the right. Bring the arms back to the knees. Carefully unwind the lotus top leg first, then the other. Stretch the legs out in front and shake them gently.
Breathing in Baddha Padmasana
Slow, deep ujjayi breathing. The contained nature of the pose makes the breath the only “movement” available let it deepen and lengthen.
Preparatory Poses Before Baddha Padmasana
Sukhasana (Easy Pose) Builds the basic seated foundation.
Padmasana (Lotus) The non-negotiable prerequisite.
Baddha Konasana (Butterfly) Opens the hips for lotus.
Gomukhasana arms Prepares the shoulders for the binding action.
For hip-opening preparation, see our hip opening yoga poses guide.
Variations of Baddha Padmasana
Variation 1: Half Bound Lotus Pose (Ardha Baddha Padmasana)
Cross only one leg into half lotus and bind only that side’s arm to its foot. Significantly more accessible than full baddha padmasana most practitioners spend years here before progressing.
Variation 2: Yoga Mudra in Bound Lotus (Intermediate)
From baddha padmasana, fold forward bringing the forehead toward the floor. Adds a deep forward fold to the bind.
Variation 3: Bound Lotus with Strap (Modification)
Use a yoga strap looped around each foot if the hands can’t reach. Builds toward the full bind safely.
Common Mistakes to Avoid in Baddha Padmasana
Mistake 1: Forcing the lotus. Cranking the knees into lotus when the hips aren’t ready. Correction: Master padmasana first. If knee pain occurs, exit immediately.
Mistake 2: Forcing the bind. Twisting the shoulders aggressively to reach the toes. Correction: Use a strap or stay in half bound lotus until shoulders are ready.
Mistake 3: Holding the breath. The contortion makes breathing harder; many people hold the breath. Correction: If you can’t breathe deeply, the pose is too deep back off.
Mistake 4: Slumping the spine. Once bound, many practitioners collapse forward. Correction: The bind should support a tall spine, not pull you down.
Mistake 5: Holding too long too soon. Long holds before the body is ready. Correction: Start with 5 breaths; build over months.
Who Should Practise Baddha Padmasana?
- Intermediate to Advanced Practitioners This pose belongs to practitioners with established hip, knee, and shoulder mobility. Approach it after at least 1–2 years of consistent practice.
- Meditators Seeking a Stable Seat Once accessible, baddha padmasana is one of the most stable seated postures for long meditation.
- Those Wanting Deeper Hip Opening The pose itself is a deep hip opener. Pair with our yoga for flexibility programme.
- Is Baddha Padmasana Good for Beginners? No. Beginners should start with sukhasana, then padmasana, then half bound lotus pose. Progression takes months to years. Pair with our yoga for beginners guide for an appropriate starting practice.
Frequently Asked Questions
Related Articles
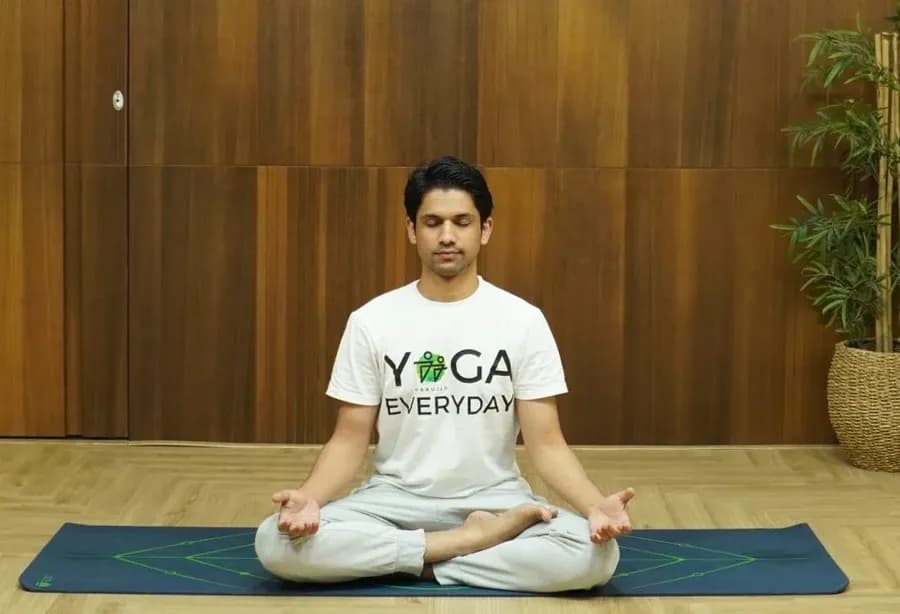
Padmasana Lotus Pose: Steps, Benefits & Guide
Padmasana, the Lotus Pose, is the foundational seat of meditation, pranayama, and classical yoga practice, creating a stable, grounded, symmetrically aligned seated base.
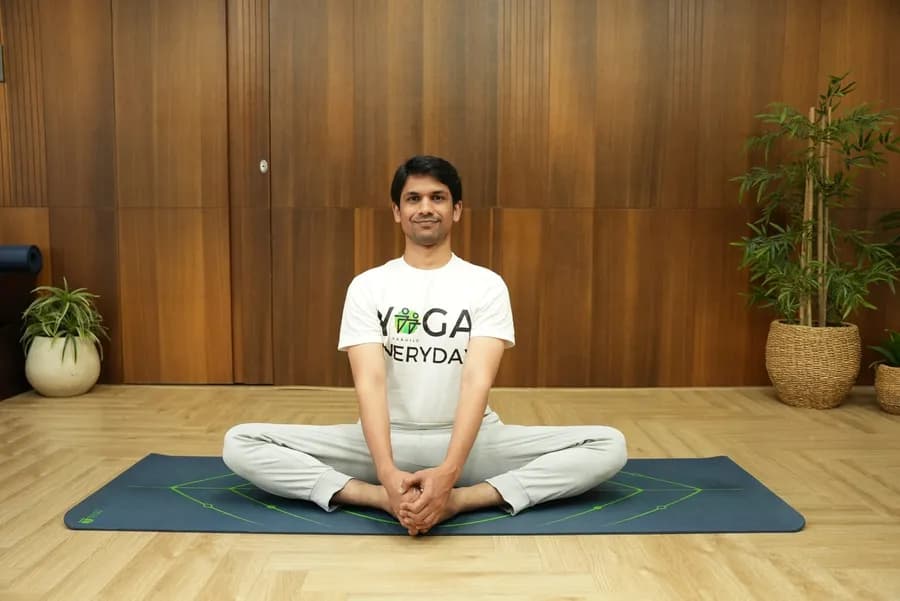
Baddha Konasana (Butterfly Pose): Steps and Hip Flexibility Benefits
Practice baddha konasana with Habuild. Try the baddha konasana pose to open your hips, improve flexibility, and calm your busy mind. Start your session today!
Sukhasana (Easy Pose): Steps Benefits and Meditation Foundation
Try sukhasana with Habuild. Discover the sukhasana pose to improve posture, reduce stress, and cultivate a calm and focused mind. Start your session today!