
Balancing Yoga Poses (Yoga Balance Asanas): Steps, Benefits & Precautions
These asanas hold the body in equilibrium on a reduced base of support — one foot, both hands, or a single point of contact — building core strength and.
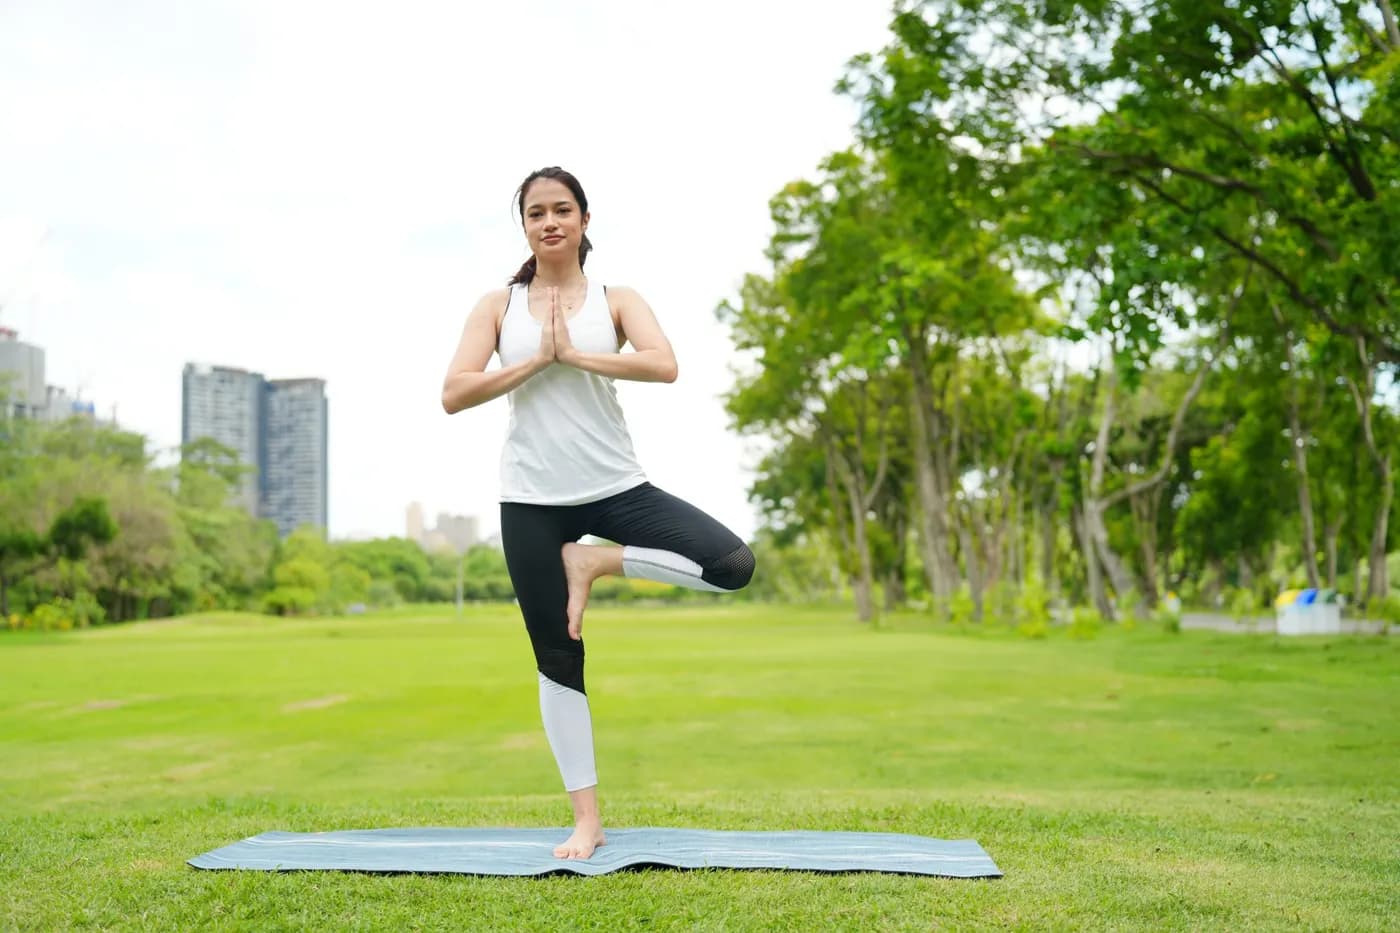
Key Takeaways
- The body balances on one foot, both hands, or a single point of contact with reduced support.
- Hundreds of tiny nervous-system adjustments happen every second just to stay upright.
- Traditional texts describe balance as a mirror of inner stillness – a calmer mind holds steadier.
- Deep core muscles like the transverse abdominis fire continuously throughout every hold.
- Also demands open hips, hamstrings, and shoulders, making it a flexibility tool too.
- Recalibrates proprioception, which naturally declines with age, making this training valuable.
Balancing yoga poses are asanas in which the body is held in equilibrium on a reduced base of support — one foot, both hands, or a single point of contact. They build core strength, joint stability, proprioception, and focused attention simultaneously, making them one of the most complete categories of practice within any yoga system, from absolute beginners to advanced yoga arm balance practitioners.
What is a Balancing Yoga Pose?
Balancing yoga poses are a family of asanas in which the body is supported on one foot, both hands, or a single point of contact — demanding that the practitioner engage their core, sharpen their focus, and coordinate breath with movement. The Sanskrit tradition describes individual poses by their primary shape, such as Vrikshasana (Tree Pose), Bakasana (Crow Pose), or Vasisthasana (Side Plank Pose).
Unlike forward folds or twists — where gravity does much of the work — balance poses require the nervous system, muscles, and mind to collaborate in real time. The body makes hundreds of tiny adjustments every second to stay upright. This is precisely why these poses are as much a mental practice as a physical one. Traditional yoga texts describe balance as a mirror of inner stillness: the calmer the mind, the more effortlessly the body holds its position.
Within the broader yoga system, balancing poses sit at the intersection of strength, flexibility, and concentration. They appear in Hatha sequences, form the dramatic centrepieces of Vinyasa flows, and are a cornerstone of Ashtanga’s standing series. Whether you are working toward your first stable Tree Pose or exploring yoga arm balances, the journey builds capacities — physical and psychological — that carry well beyond the mat.
Balancing Yoga Poses Benefits
Physical Benefits
- Benefit 1: Strengthens the Core, Ankles, and Stabilising Muscles Every time you hold a balance pose, your deep core muscles — transverse abdominis, multifidus, and the pelvic floor — fire continuously to keep you upright. Over weeks of consistent practice, this translates into genuine functional strength that supports your posture in everyday life. Ankle stability also improves significantly, reducing the risk of common sprains and falls.
- Benefit 2: Improves Full-Body Flexibility and Joint Mobility Many balancing yoga poses require the hips, hamstrings, and shoulders to be open enough to hold the shape cleanly. Practising them regularly gently encourages a wider range of motion across multiple joints simultaneously — making them an efficient tool for anyone working on overall yoga for flexibility. Hip-opening components in standing balance poses ease tension accumulated from prolonged sitting.
- Benefit 3: Builds Coordination and Proprioception Balance training recalibrates the body’s proprioceptive system — the internal sense of where limbs are in space. This coordination benefit is especially valuable as we age, when proprioception naturally declines. Regular practice of yoga arm balances and standing balance poses sharpens neuromuscular communication, helping you move more confidently and efficiently in daily activities.
- Benefit 4: Calms the Nervous System and Reduces Stress Holding a balance pose demands singular, present-moment attention — there is simply no room for a wandering mind. This enforced focus activates the parasympathetic nervous system, gradually supporting the management of the stress response. For anyone dealing with chronic tension or anxiety, consistent practice of balancing asanas can be a grounding, stabilising ritual each morning.
Mental and Emotional Benefits
- Benefit 5: Sharpens Focus and Mental Clarity The concentration required to hold Warrior III or Crow Pose for several breaths trains the same neural circuits used for sustained attention in work and study. Over time, practitioners often report that their ability to focus off the mat improves noticeably. Yogic tradition calls this quality Dharana — concentration — and balance poses are one of its most direct physical expressions.
- Benefit 6: Builds Confidence and a Growth Mindset Few experiences on the yoga mat are as rewarding as the moment a challenging balance pose finally clicks. The process of falling, adjusting, and trying again builds psychological resilience and a quiet confidence in one’s own capacity. Each small breakthrough in a balance pose reminds the practitioner that consistency and patience yield real progress.
Explore how a broader practice supports yoga for stress management alongside your balance work.
How to Do Balancing Yoga Poses — Step-by-Step Instructions
We will use Vrikshasana (Tree Pose) as the foundational template for learning balancing yoga poses. It is the most accessible entry point and teaches all the core principles that apply to every balance asana — including yoga arm balances.
Key Principles
Before stepping into any balance pose, establish a stable foundation. Press evenly through the standing foot, engage the core lightly without gripping, soften the gaze to a fixed point (Drishti), and breathe steadily. Tension in the breath is the fastest way to topple out of a balance — smooth, continuous breathing is your anchor.
Step 1: Starting Position
Stand in Tadasana (Mountain Pose) with feet hip-width apart or together. Distribute your weight evenly across the four corners of both feet — the big toe mound, the little toe mound, and both sides of the heel. Lengthen the spine, soften the knees slightly, and let your arms hang naturally. Take two or three slow breaths here to settle the nervous system before you begin.
Step 2: Shift Weight and Find Your Standing Foot
Slowly transfer your entire weight onto your right foot. Press the right foot firmly into the floor as if trying to leave an imprint. Feel the ankle, knee, and hip stack directly over one another. Pick a fixed point at eye level — this Drishti point is your visual anchor for the entire hold.
Step 3: Place the Lifted Foot
Bend the left knee and use your left hand to place the sole of the left foot against the inner right thigh (above the knee) or inner calf (below it — never on the knee joint itself). Press the foot and thigh gently into each other; this mutual resistance stabilises the pose. The left knee points out to the side, in line with the left hip.
Step 4: Set the Arms
On an inhale, bring the palms together at the chest in Anjali Mudra (prayer position) and then raise them overhead if comfortable. Keep the shoulders drawing away from the ears. If balance feels unstable, keep the hands at the heart — arm position does not determine the quality of the pose; your foundation does.
Step 5: Final Position and Hold
Hold the position for five to eight steady breaths — roughly 30 to 45 seconds. Keep the standing knee soft (not locked), the core gently engaged, and the breath fluid. If you wobble, that is the pose working exactly as intended. Each micro-correction strengthens the stabilising muscles and deepens proprioceptive awareness. Relax the jaw and forehead; tension there travels down the body.
Step 6: How to Come Out of Vrikshasana
On an exhale, slowly lower the lifted foot back to the floor with control — do not simply drop it. Return to Tadasana, pause for one or two breaths to notice the difference in sensation between both sides, and then repeat the entire sequence on the left leg. Coming out mindfully trains the same coordination circuits as entering the pose.
Breathing in Balancing Yoga Poses
In all balancing asanas, breath is not background — it is the mechanism. Inhale to grow taller and create space; exhale to deepen engagement and settle. Never hold the breath. In yoga arm balances specifically, the exhale activates the deep abdominal muscles that make the lift possible. A smooth, rhythmic breath cycle of four counts in and four counts out works well for most practitioners. When the breath becomes choppy or strained, come out of the pose, rest, and re-enter.
Preparatory Poses Before Balancing Yoga Poses
Warming up the right muscle groups makes balancing poses feel far more accessible and reduces injury risk. Spend a few minutes with these before your balance practice:
- Tadasana (Mountain Pose) — Reestablishes postural awareness and trains you to feel even weight distribution across both feet before you reduce it to one.
- Warrior I (Virabhadrasana I) — Opens the hip flexors and strengthens the glutes and thighs, which are load-bearing in most standing balance poses.
- Low Lunge (Anjaneyasana) — Releases hip-flexor tightness that can pull the pelvis out of alignment in single-leg balances.
- Plank Pose (Phalakasana) — Warms up the wrists, shoulders, and core — essential preparation before attempting yoga arm balances for beginners.
You will find a broader collection of warm-up options in this guide to stretching yoga poses that pair well with any balance sequence.
Variations of Balancing Yoga Poses
Variation 1: Ardha Vrikshasana (Half Tree Pose) — Beginner Level
Instead of placing the lifted foot on the inner thigh, rest the toes lightly on the floor beside the standing ankle, with the heel lifted against the inner calf. This provides a “kickstand” of support while still engaging the balance muscles. It is the ideal entry point for yoga arm balances for beginners and for anyone rebuilding ankle strength after an injury.
Variation 2: Warrior III (Virabhadrasana III) — Intermediate Level
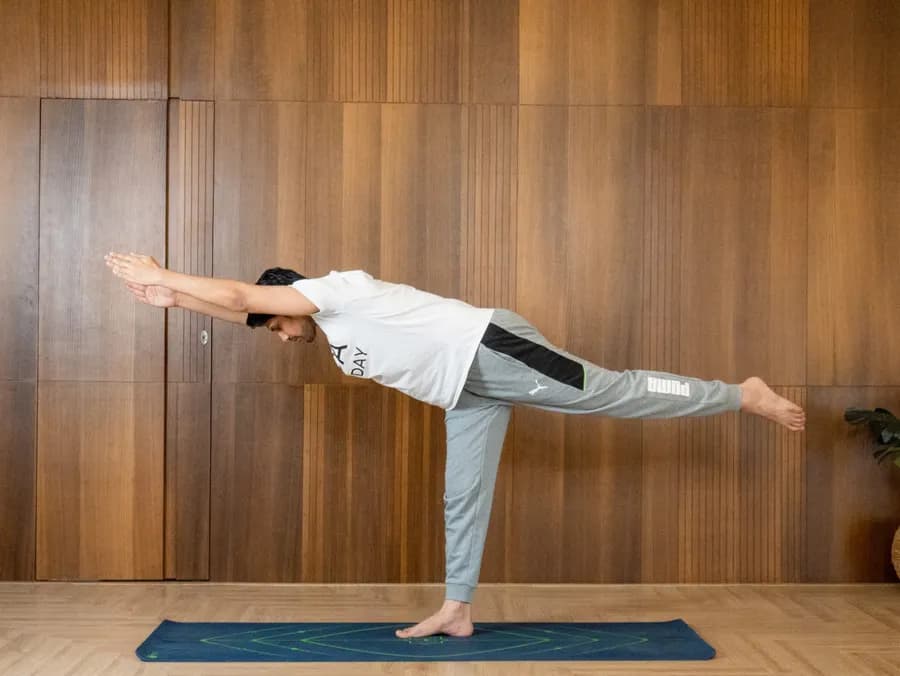
Standing on one leg, hinge forward at the hip until the torso and lifted leg are parallel to the floor, arms extended overhead or back alongside the body. This pose dramatically increases the balance challenge by lengthening the lever arm of the body and demands strong hamstring engagement. It is one of the most effective balancing yoga poses for building full-posterior-chain strength.
Variation 3: Bakasana (Crow Pose) — Yoga Arm Balance, Intermediate–Advanced
From a squat, plant the palms shoulder-width apart, bend the elbows, and place the inner knees on the backs of the upper arms. Lean forward until the feet lift off the floor and the body’s weight rests entirely on the wrists and arms. Bakasana is the gateway pose for all yoga arm balances — it builds wrist strength, shoulder stability, and the courage to shift weight forward. Keep a folded blanket beneath the head when learning.
Variation 4: Vasisthasana (Side Plank Pose) — Intermediate Level
From Plank, rotate the entire body to one side, stacking the feet and balancing on one hand and the outer edge of the bottom foot. Raise the top arm toward the ceiling. This variation challenges lateral stability muscles — the obliques and hip abductors — that standing balance poses typically do not reach. Advanced versions include lifting the top leg or binding the top foot with the top hand.
Common Mistakes to Avoid in Balancing Yoga Poses
- Locking the Standing Knee Hyperextending or locking the standing knee removes the micro-adjustments the joint needs to help you balance and places excessive pressure on the ligaments. Keep a very slight, almost imperceptible softness in the knee throughout every standing balance pose.
- Holding the Breath When concentration peaks, many practitioners unconsciously stop breathing. This creates tension throughout the body, destabilises the pose, and spikes the stress response — the opposite of what yoga intends. Make your breath audible (a soft Ujjayi) so you always know whether it is flowing.
- Placing the Foot Directly on the Knee Joint In Tree Pose, the foot must go either above the knee (on the inner thigh) or below it (on the inner calf). Pressing directly on the side of the knee joint strains the medial ligaments. This is one of the most common and avoidable mistakes in standing balance poses.
- Letting the Gaze Wander A wandering eye creates a wandering body. If your Drishti (gaze point) drifts, the balance chain breaks almost immediately. Fix your gaze on one unmoving point slightly below eye level and return to it firmly whenever the mind drifts.
- Gripping the Toes of the Standing Foot Curling the toes of the standing foot is a sign that the deeper stabilisers are not engaging and the feet are compensating. Spread the toes wide and press actively through all four corners of the foot instead. This small adjustment activates the entire kinetic chain from ankle to hip.
- Rushing Into Arm Balances Without Wrist Preparation Yoga arm balances concentrate significant load on the wrist joint. Skipping wrist circles, wrist flexion/extension stretches, and basic Plank holds before attempting Crow or Side Plank is a primary cause of wrist pain. Always warm the wrists for two to three minutes before any arm-balance sequence.
Who Should Practise Balancing Yoga Poses?
- Those with Back Pain, Stress, or Poor Posture Balancing poses engage the deep spinal stabilisers and teach the body to find neutral alignment, which can gradually support better posture and help deal with the muscular tension that often accompanies back discomfort. Combined with a broader practice — see yoga for back pain — they form a well-rounded approach to spinal care. Practise under guidance and consult your physician if you have a diagnosed spinal condition.
- Is Practising Balancing Yoga Poses Good for Beginners? Absolutely — with the right entry points. Poses like Tree Pose, Chair Pose, and the Half Tree variation described above are genuinely accessible for complete beginners. The key is to begin with the wall nearby for support, use the low-foot placement, and not rush toward the more advanced shapes.
- Working Professionals with Sedentary Lifestyles Long hours at a desk shorten hip flexors, weaken the glutes, and disconnect people from their own bodies. A 10–15 minute morning balance sequence — even before the laptop opens — reactivates the neuromuscular system, improves circulation, and creates a measurable shift in alertness and mood. Many Habuild members report that this is the single habit that changed how they feel by mid-morning.
- Intermediate Practitioners Progressing Toward Yoga Arm Balances If you can hold Tree Pose and Warrior III comfortably for 45 seconds on each side, you have the foundation to begin exploring yoga arm balances. Bakasana (Crow Pose) is the natural next step — and with consistent practice under live guidance, most intermediate practitioners reach their first clean hold within four to six weeks. The progression is methodical and deeply satisfying.
Explore a full curated set of entry-level options in this guide to basic yoga poses for beginners to build a solid foundation before progressing.
Make Balancing Yoga Poses a Part of Your Life
Balancing yoga poses are a broad and rewarding category of asanas — from the grounded simplicity of Tree Pose to the strength-intensive world of yoga arm balances — that build core stability, improve coordination, sharpen focus, and gradually ease stress through consistent daily practice. They suit beginners with the right modifications and continue to challenge even experienced practitioners as the variations deepen.
Whether you are a complete beginner who cannot yet hold Tree Pose for five seconds, someone managing back tension, or an intermediate practitioner eyeing your first Crow Pose, there is a version of this practice that is right for you right now. With proper guidance, appropriate modifications, and a community practising alongside you, none of these poses are out of reach.
The most effective way to build a balance practice that actually sticks is under live guidance — with a teacher who can see your alignment, correct it in real time, and keep you motivated on the days you would rather skip. Habuild’s daily live sessions are designed exactly for this: every morning, a structured sequence, a real instructor, and a community of 650,000+ practitioners showing up together.
Frequently Asked Questions
Related Articles
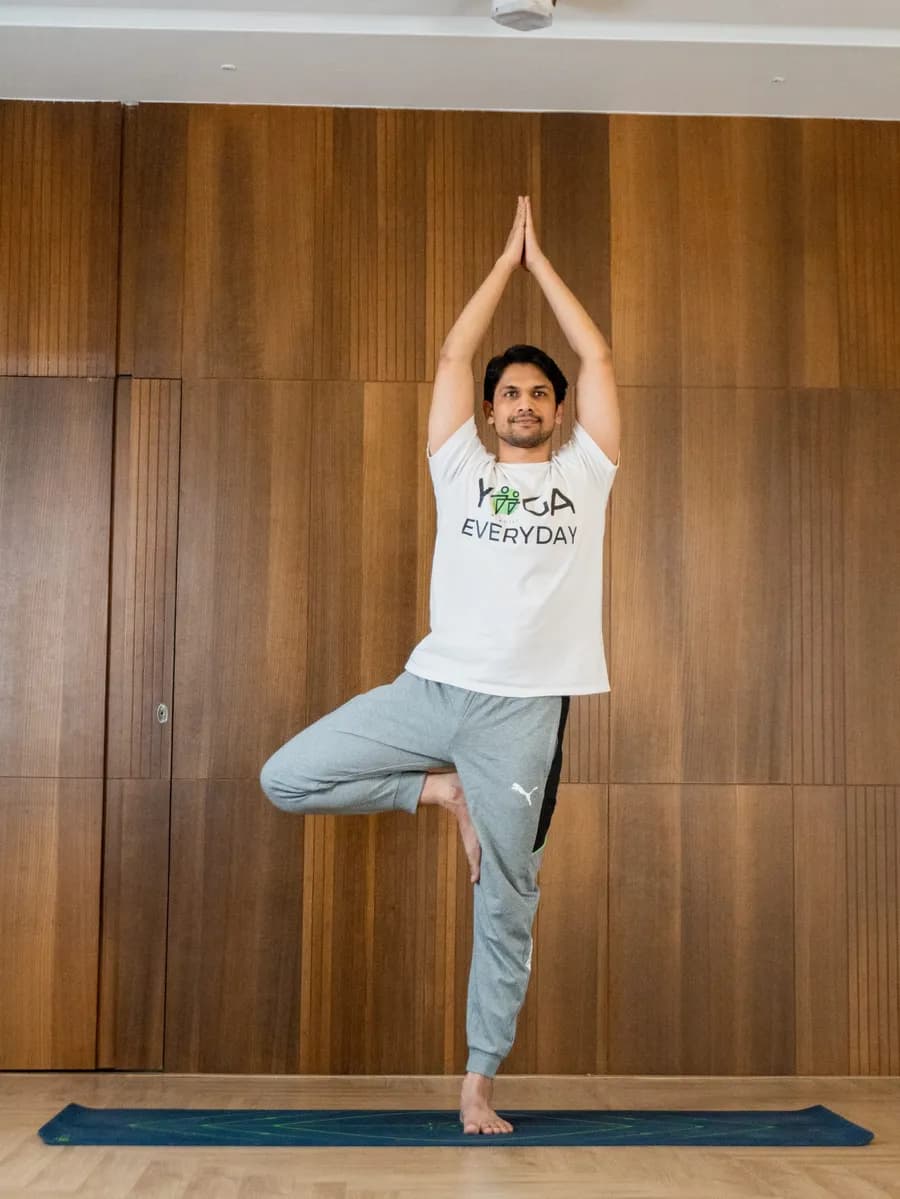
Vrksasana (Tree Pose): Steps Balance and Concentration Benefits
Practice Vrksasana yoga with Habuild. Follow the tree pose steps to improve balance, strengthen your legs, and build focus and mental clarity. Start today!
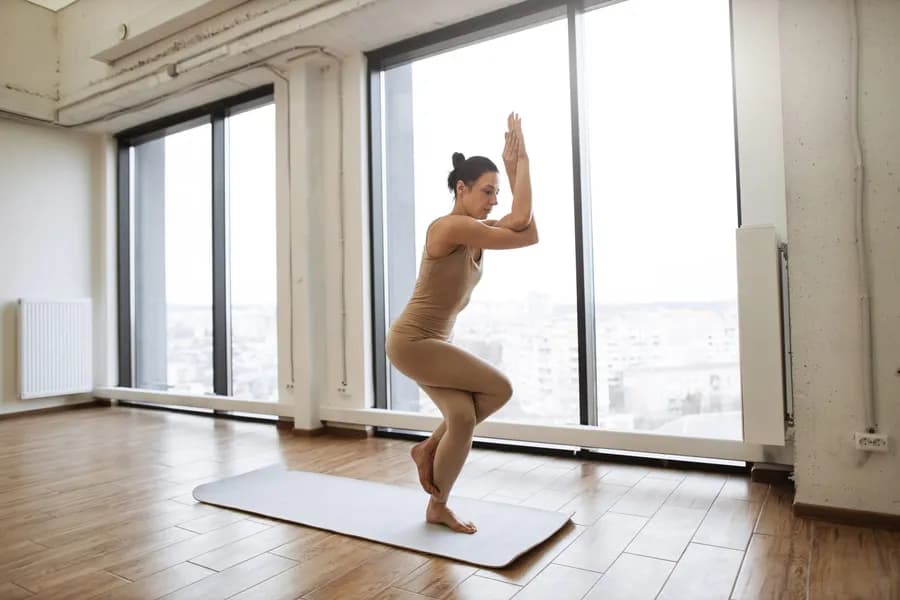
Garudasana (Eagle Pose): Steps Balance Benefits and Beginner Tips
Practice garudasana with Habuild. Try garudasana yoga to improve balance, strengthen your legs, open your shoulders, and develop sharp focus. Start today now!
Virabhadrasana 3 (Warrior 3): Steps Balance and Core Benefits
Practice Virabhadrasana 3 with Habuild. Follow Warrior III steps to improve balance, build leg strength, and develop core stability and focus. Start today!