
Parsvakonasana (Side Angle Pose): Steps and Full Body Benefits
Practice Parsvakonasana with Habuild. Follow the side angle pose steps to strengthen your legs, open your hips, and boost lateral flexibility. Start today!
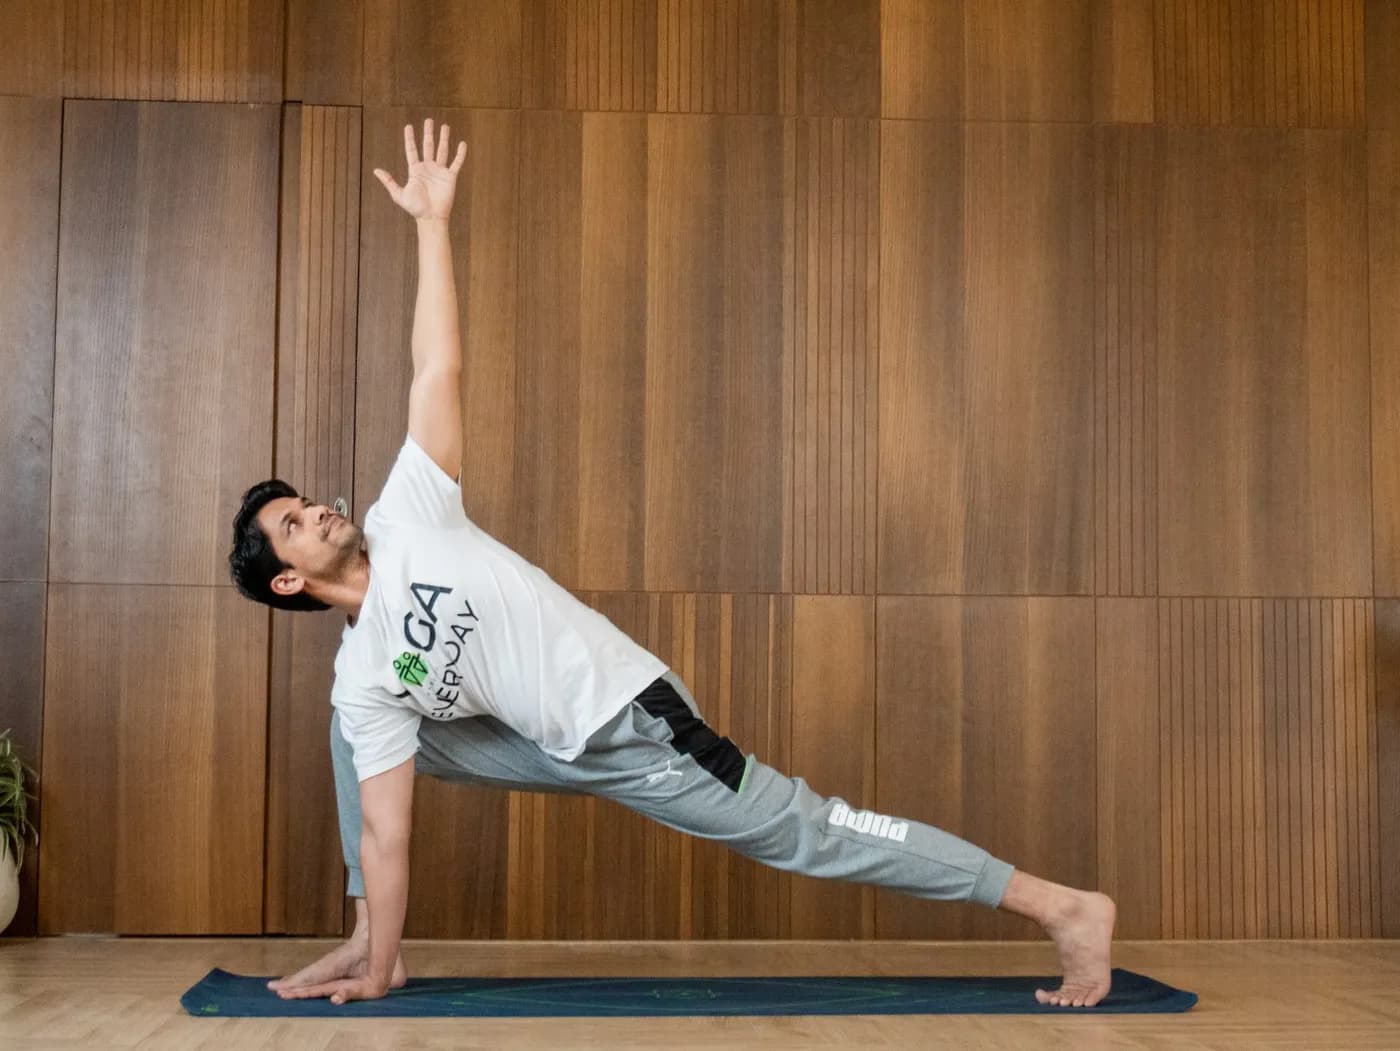
Key Takeaways
- Always entered from Warrior II, extending the bent-knee stance into a full lateral line.
- Taught simultaneously at three levels – forearm-on-thigh, hand-to-floor, and full expression.
- Sustained oblique engagement on both sides is used specifically to tone the waist.
- Creates one continuous line from the back heel through hip, torso, arm, to fingertips.
- Wide stance and bent knee open the groin and anterior hip capsule simultaneously.
- Held for five to eight breaths, combining physical endurance with directed mental focus.
Parsvakonasana, or Side Angle Pose, is a wide-legged standing yoga posture combining a bent front knee with a lateral body extension from heel to fingertip. It develops lateral body flexibility, lower body strength, hip opening, and waist engagement simultaneously — one of the most comprehensive standing postures in yoga.
What is Parsvakonasana?
Parsvakonasana — known in English as Side Angle Pose — derives from Sanskrit: Parsva (side or flank), Kona (angle), and Asana (posture). From a wide-legged stance with the front knee bent, the body extends laterally — creating a continuous line from the back heel through the hip, torso, arm, and fingertips.
Parsvakonasana is one of the most comprehensive standing postures in yoga — simultaneously strengthening the lower body, opening the groin and hip flexors, stretching the entire lateral body and intercostal muscles, and building postural awareness in the lateral plane. It encompasses both the forearm-on-thigh beginner modification and the full hand-to-floor expression — making it genuinely accessible across all levels.
At Habuild, Parsvakonasana is taught as a comprehensive lateral body development posture — always entered from Virabhadrasana II (Warrior II) and taught simultaneously at all three levels of expression.
Parsvakonasana Benefits
Physical Benefits
- Stretches the Lateral Body and Intercostal Muscles Comprehensively Parsvakonasana provides one of the deepest lateral body stretches in standing yoga — lengthening the obliques, intercostals, quadratus lumborum, and lateral hip muscles in a loaded standing position. This lateral opening directly relieves the lateral compression and ribcage restriction that prolonged sitting creates and opens the chest for fuller breathing.
- Develops Full-Body Standing Strength The loaded lateral stance simultaneously works the quadriceps, glutes, hip abductors, lateral core, and shoulder stabilisers — a full-body standing strength demand that directly supports healthy body composition, athletic performance, and the functional lateral movement that daily activities and sports require.
- Opens the Hips and Inner Thighs The wide-legged stance, front-knee bent, and lateral reach open the groin, inner thigh adductors, and anterior hip capsule — providing hip opening that complements both the forward-bending and the straight-legged standing postures of the complete yoga sequence.
- Tones the Waist Through Sustained Oblique Engagement The sustained oblique engagement — inner obliques compressing on the lower side, outer obliques stretching on the upper side — directly tones the waist and contributes meaningfully to abdominal toning goals over consistent daily practice.
Mental and Emotional Benefits
- Builds Physical Endurance and Composed Focus Parsvakonasana held for five to eight breaths challenges the legs and focused attention simultaneously — building the physical endurance and the composed, directed mental attention that standing postures uniquely develop. The sustained effort of the lateral stance trains the quality of determined, present-moment engagement.
How to Do Parsvakonasana — Step-by-Step Instructions
Key Principles
Key Principles Three alignment principles: the extended lateral line — from the back heel to the extended fingertips, one unbroken diagonal through the body; the front knee tracks directly over the second toe — never collapsing inward; and the chest faces forward or upward — never toward the floor.
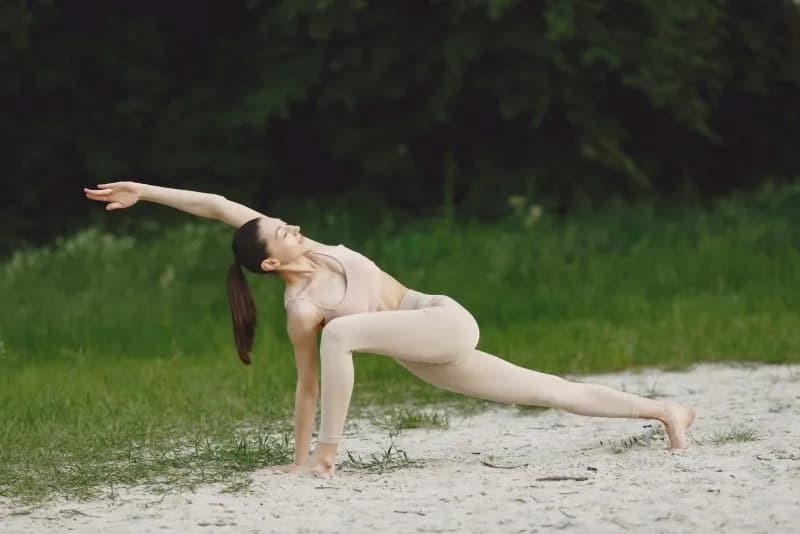
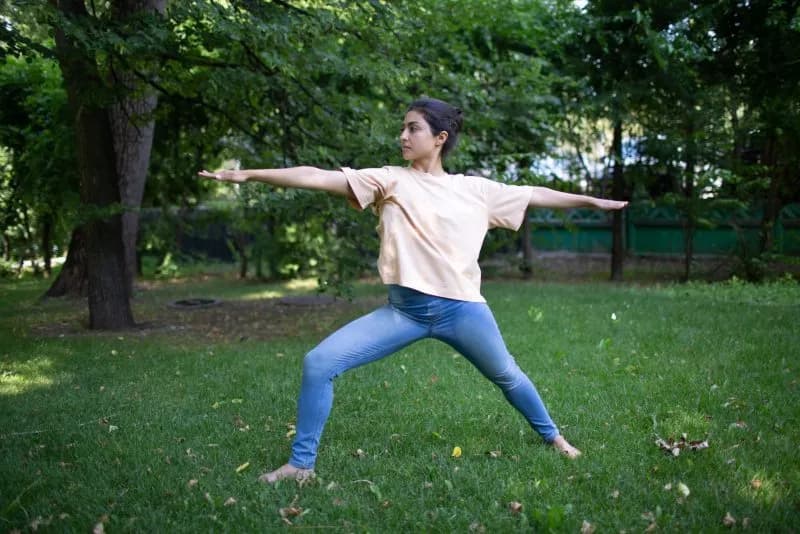
Parsvakonasana — Step by Step Step 1: Starting Position in Virabhadrasana II Begin in Virabhadrasana II — right foot forward, left foot turned in, arms extending laterally at shoulder height, front knee bent over the front foot. This is the entry point for Parsvakonasana.
Step 2: Lower to Forearm-on-Thigh or Hand to Block On the exhale, bring the right forearm to rest on the right thigh (beginner modification), or bring the right hand to a block placed outside the right foot at an appropriate height.
Step 3: Extend the Upper Arm Extend the left arm directly overhead — reaching in a diagonal line from the left heel to the left fingertips. The upper arm extends past the ear, not straight up.
Step 4: Rotate the Chest Open Turn the chest toward the ceiling — not toward the floor. The body from the left heel through the hip, ribcage, and arm forms one extended lateral line.
Step 5: Final Position and Hold Press both feet actively into the floor, engage both thighs, breathe into the upper left ribcage on each inhale. Hold for five to eight breath cycles, each inhale progressively opening the upper intercostal space.
Step 6: Rise and Repeat Other Side Inhale to rise back to Virabhadrasana II. Reverse the foot position and repeat the complete sequence on the left side. Always practise both sides with equal duration.
Breathing in Parsvakonasana
Breathing into the upper (extended) intercostal space on the inhale creates the progressive lateral opening that distinguishes a therapeutic hold from a static position. Each inhale expands the upper ribcage laterally; each exhale settles the body more deeply into the extended line without losing alignment.
Preparatory Poses Before Parsvakonasana
These poses warm the hips, inner thighs, and lateral body before Side Angle Pose.
- Surya Namaskara (3 rounds) — Warms the complete lower body and lateral body awareness.
- Virabhadrasana II (held 5-8 breaths) — The direct preparation — establishes the wide-legged bent-knee stance before the lateral reach.
- Trikonasana (Triangle Pose) — The straight-leg companion posture that warms the hamstrings and lateral body before the bent-knee expression.
- Prasarita Padottanasana — Warms the inner thighs and wide-legged stance before the lateral postures.
Variations of Parsvakonasana
- Variation 1: Forearm on Thigh — Beginner Right forearm resting on the right thigh — reduces the lateral tilt required and allows focus on the front knee alignment, chest rotation, and upper arm reach. This variation delivers the full lateral stretch, hip opening, and lower body strength of the complete posture.
- Variation 2: Hand on Block — Intermediate A block placed at the appropriate height outside the front foot — allows the full lateral line and chest rotation without the full hamstring and hip flexibility needed for hand-to-floor contact. Use at whatever height maintains the chest-open, lateral-line geometry.
- Variation 3: Parsvakonasana with Bind — Advanced The lower arm wraps under the front thigh while the upper arm wraps behind the back — hands clasping behind. This deep shoulder and chest opener added to the lateral stance is the most advanced expression and requires comfortable full Parsvakonasana as a prerequisite.
Common Mistakes to Avoid in Parsvakonasana
- Chest Facing the Floor Rather Than Rotating Open The most common and visually obvious error. The chest must rotate open toward the ceiling — not fall toward the floor — to develop the spinal rotation and lateral body opening the posture is designed to create. If the chest cannot rotate open, raise the lower hand to a block to create the space needed for chest rotation.
- Front Knee Collapsing Inward The front knee must track actively over the second or third toe throughout the hold. Knee collapse concentrates medial knee strain and reduces the hip abductor engagement that makes the posture therapeutically valuable for lower body strength.
- Body Weight Concentrated in the Lower Hand The lower hand (forearm or block) is a balance guide only — not a weight-bearing support. If significant body weight is pressing into the lower hand, the lateral core engagement that makes the posture strengthening is bypassed. Lift slightly to restore the active lateral line.
Who Should Practise Parsvakonasana?
- Those Seeking Lateral Body Flexibility Parsvakonasana fills the lateral body opening gap that most yoga sequences leave — providing the intercostal, oblique, and lateral hip flexibility that balances the forward-bending dominant nature of most yoga practice.
- Athletes Needing Lateral Strength and Hip Stability Tennis players, footballers, swimmers, and any athlete requiring lateral force production benefit from the lateral standing strength and hip stability that Parsvakonasana develops — its loaded lateral position training the specific mechanical demands of side-to-side athletic movement.
- Is Parsvakonasana Good for Beginners? Yes — with the forearm-on-thigh modification, Parsvakonasana is accessible from early in yoga practice. The modification allows the complete lateral line, chest rotation, and upper arm extension to be developed while the hip and hamstring flexibility for the lower hand develops progressively.
Make Parsvakonasana a Part of Your Daily Practice
Parsvakonasana is the yoga tradition's most comprehensive lateral standing practice — its simultaneous lower body strength, lateral body stretch, hip opening, and waist engagement delivering a breadth of physical benefit in a single standing posture that no other yoga posture fully replicates.
Whether you are beginning with the forearm-on-thigh modification, developing the block-supported hand position, or refining the full lateral line of the complete expression, every stage of Parsvakonasana practice delivers meaningful and progressive benefits.
The most effective way to learn Parsvakonasana correctly — with front-knee tracking, chest-rotation cues, and arm-reach instruction — is under live expert guidance with Habuild.
Start your 14 day free yoga journey with Habuild, today!
Related reads: Samakonasana (Straight Angle Pose): Steps and Flexibility Benefits · Konasana (Angle Pose): Steps Benefits and Spine Health
Side Angle Pose builds leg strength and hip mobility together, and both develop through the accumulation of holds across many sessions rather than a single deep stretch. The lateral opening in particular tends to plateau if you only visit the pose occasionally, so keeping it in a regular standing sequence is what pushes past that. Habuild's Yoga Everyday program includes this pose as part of its daily standing-pose flow.
Frequently Asked Questions
Related Articles
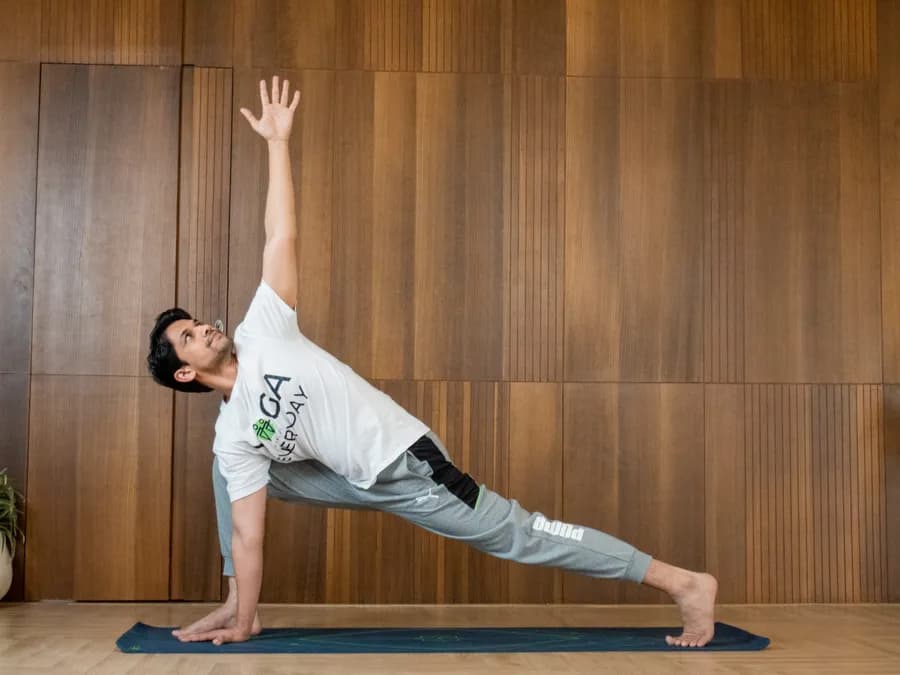
Utthita Parsvakonasana: Steps Strength Benefits and Alignment
Practice Utthita Parsvakonasana with Habuild. Follow the extended side angle steps to strengthen your legs, open your hips, and boost flexibility. Start today!
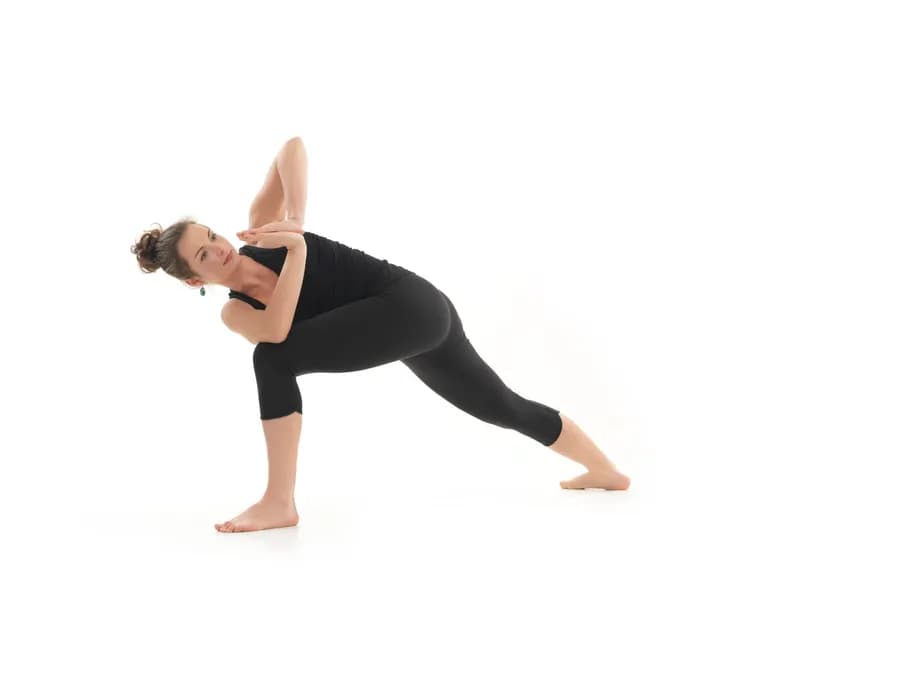
Parivrtta Parsvakonasana: Steps Twisting Benefits and Alignment
Practice Parivrtta Parsvakonasana with Habuild. Follow the revolved side angle steps to strengthen your legs, improve digestion, and boost flexibility. Start!
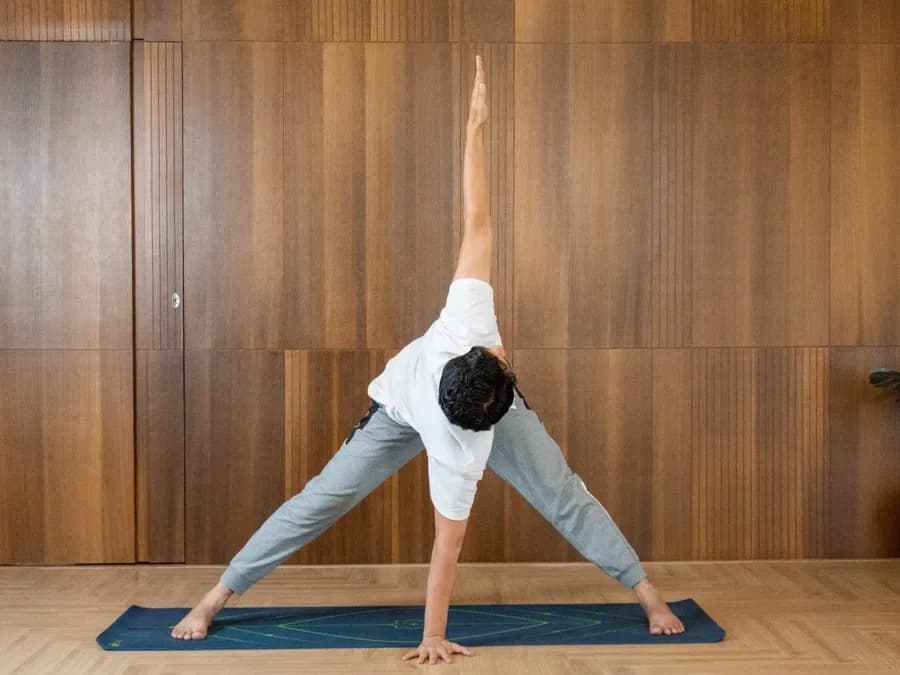
Trikonasana: Triangle Yoga Pose, Steps & Benefits
Trikonasana, the Triangle Pose, opens the hips, lengthens the lateral body, strengthens the legs and core, and improves spinal alignment in one complete standing pose.

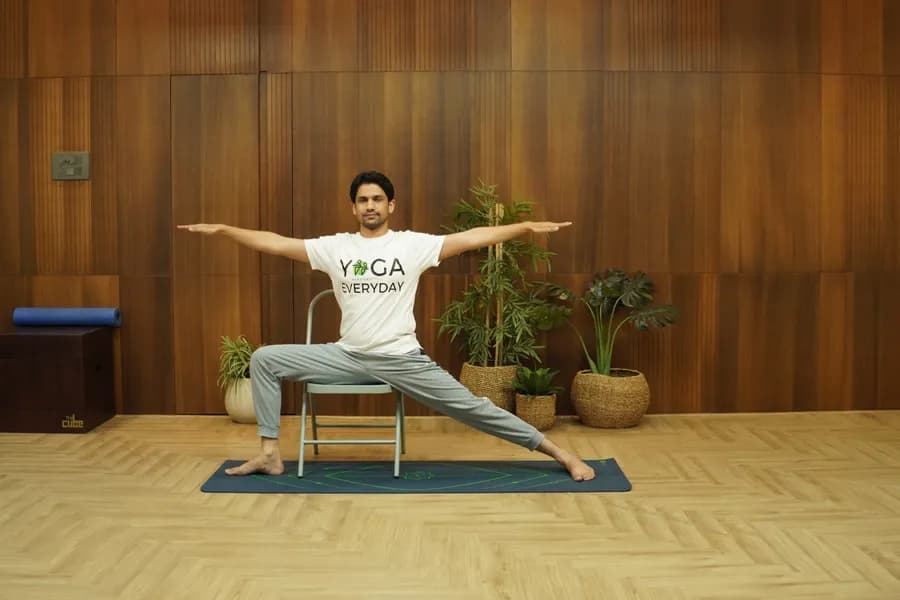
Virabhadrasana 2 (Warrior 2): Steps Benefits and Alignment Cues
Practice Virabhadrasana 2 with Habuild. Follow the Warrior II pose steps to strengthen your legs, open your hips, and build stamina and focus. Start today!